P5 is a wonderful little library, and I believe that everyone should learn how to use it! If you're a bonafide programming whizz, a designer by trade, or someone that wants to take their first steps into the world of coding - P5 is for you!
I present to you a complete guide for getting started with p5.js!
I've used P5 extensively over the course of the past 3 years and created so many different things with it. It's been my gateway into the world of creative coding and generative art, and I'm so happy that I discovered it when I did.
Besides allowing me to express myself artistically, it also introduced me to a wonderful community of creative and inclusive minds. In this manner, P5 is not just a library or a tool, it's also a community.
Whether you're an absolute beginner or have already dabbled a little bit in P5, this post is for you. We'll go over setting up a project, how P5 works behind the scenes and also have a look at all of the things that we can do with P5.
What is P5JS? Why should I learn it?
P5 is a Javascript library for creative coding and generative art.
What is creative coding? And what is generative Art? Good questions!
Creative Coding is a programming practice where the goal is to create a variety of different media artifacts. These can come in form of sketches, artworks that are worthy of hanging in museums, and even as interactive experiences. Although in many ways still a niche, creative coding has become much more popular in recent years as a modern art practice.
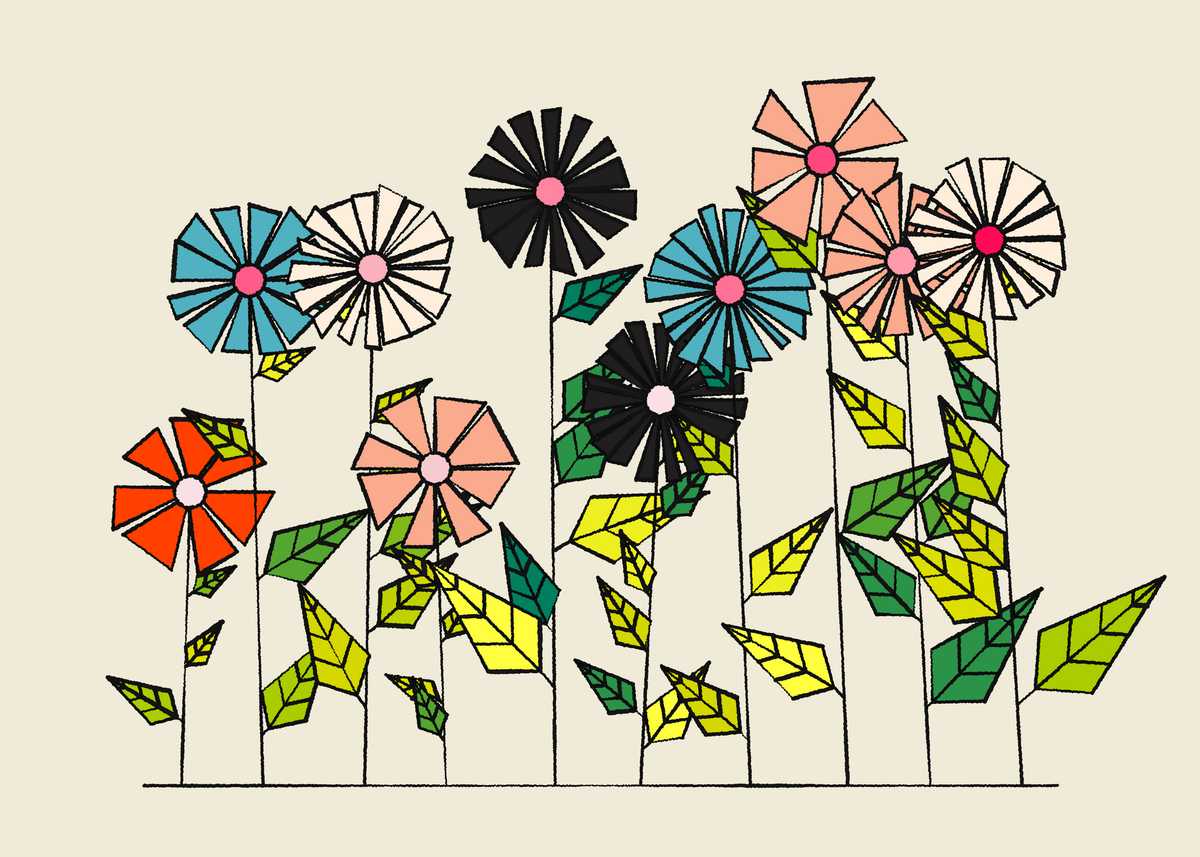
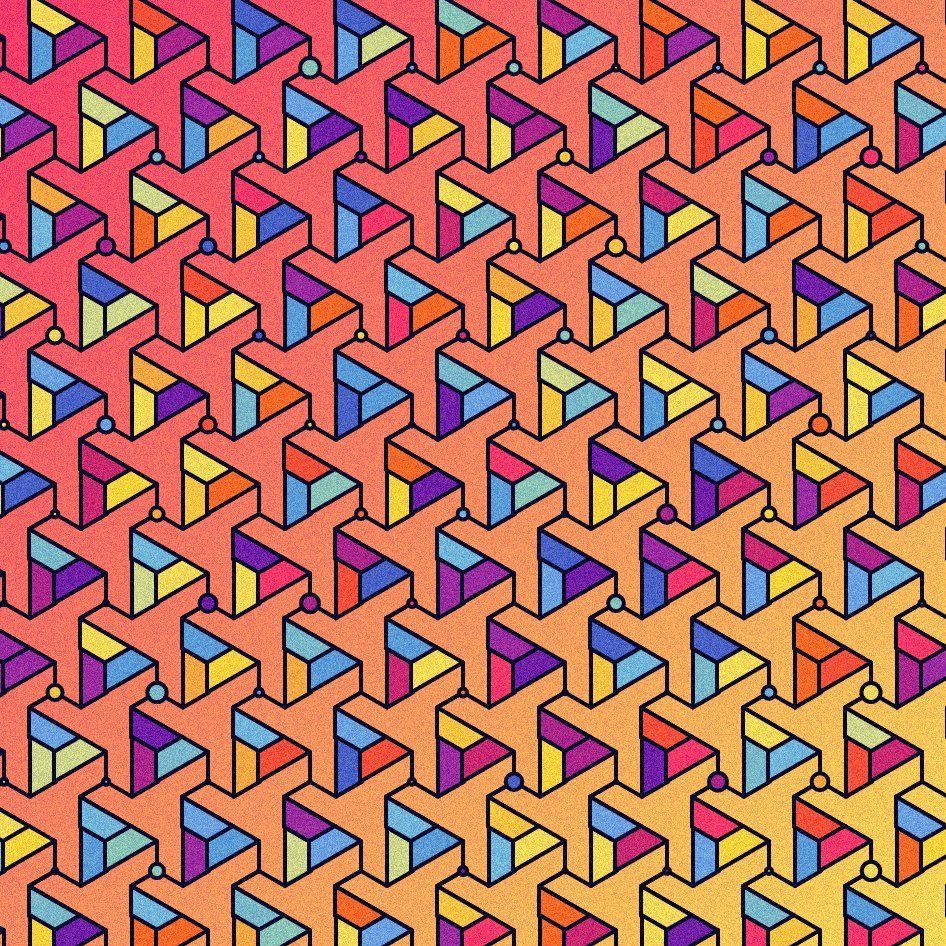
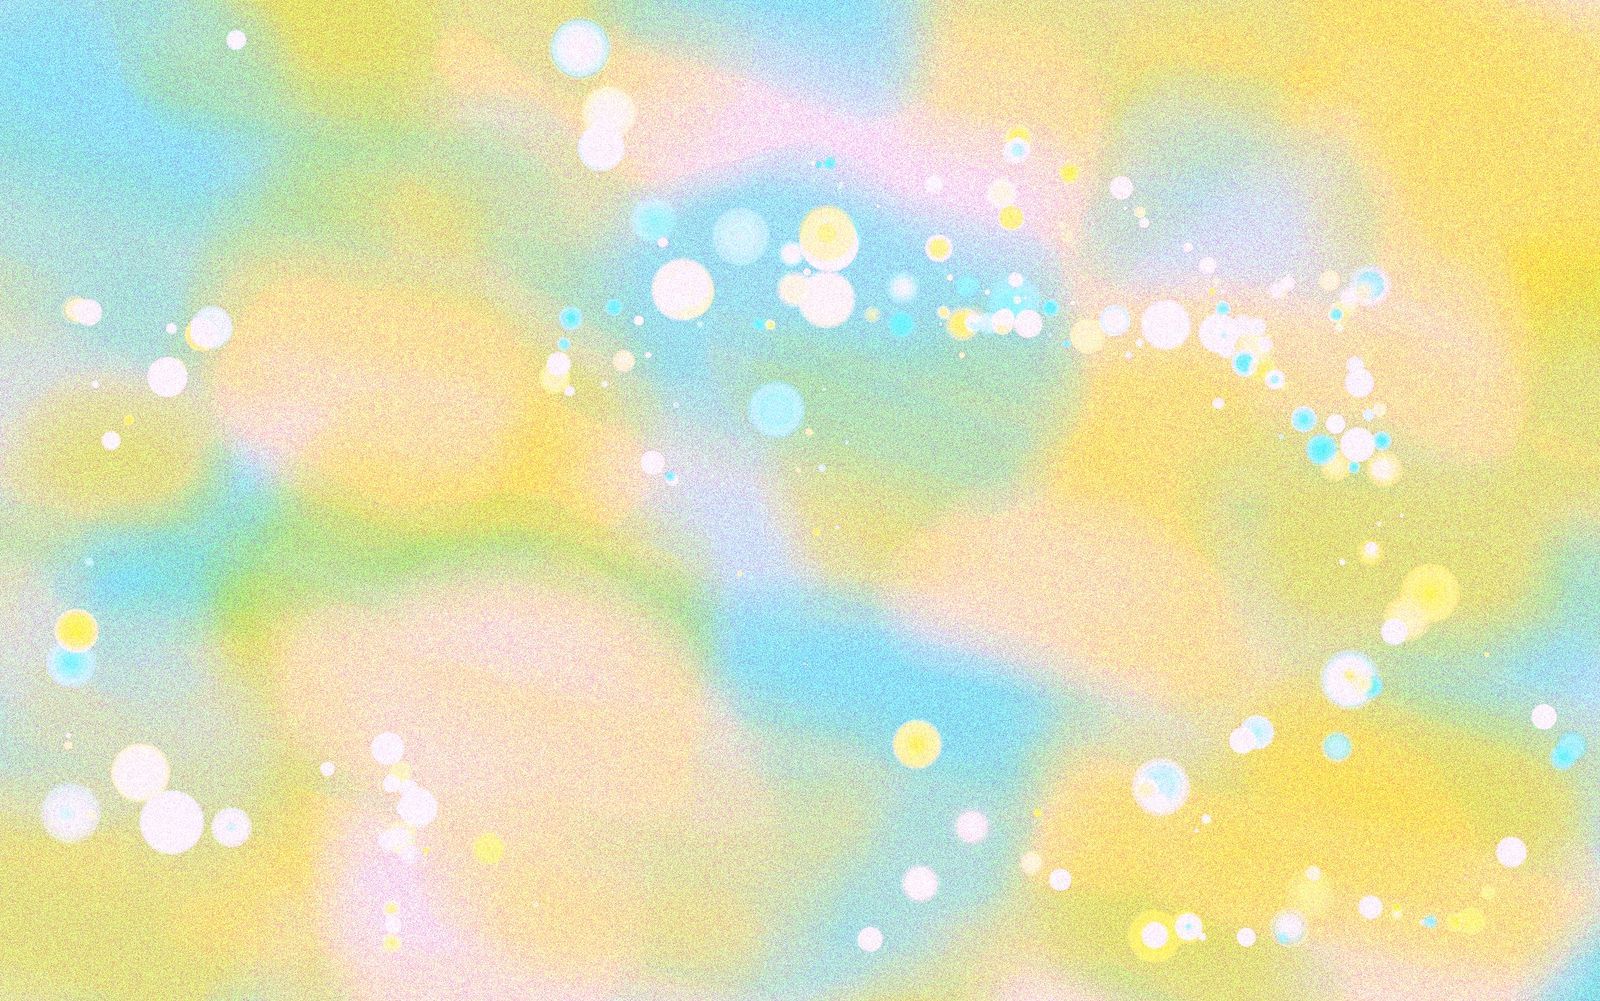
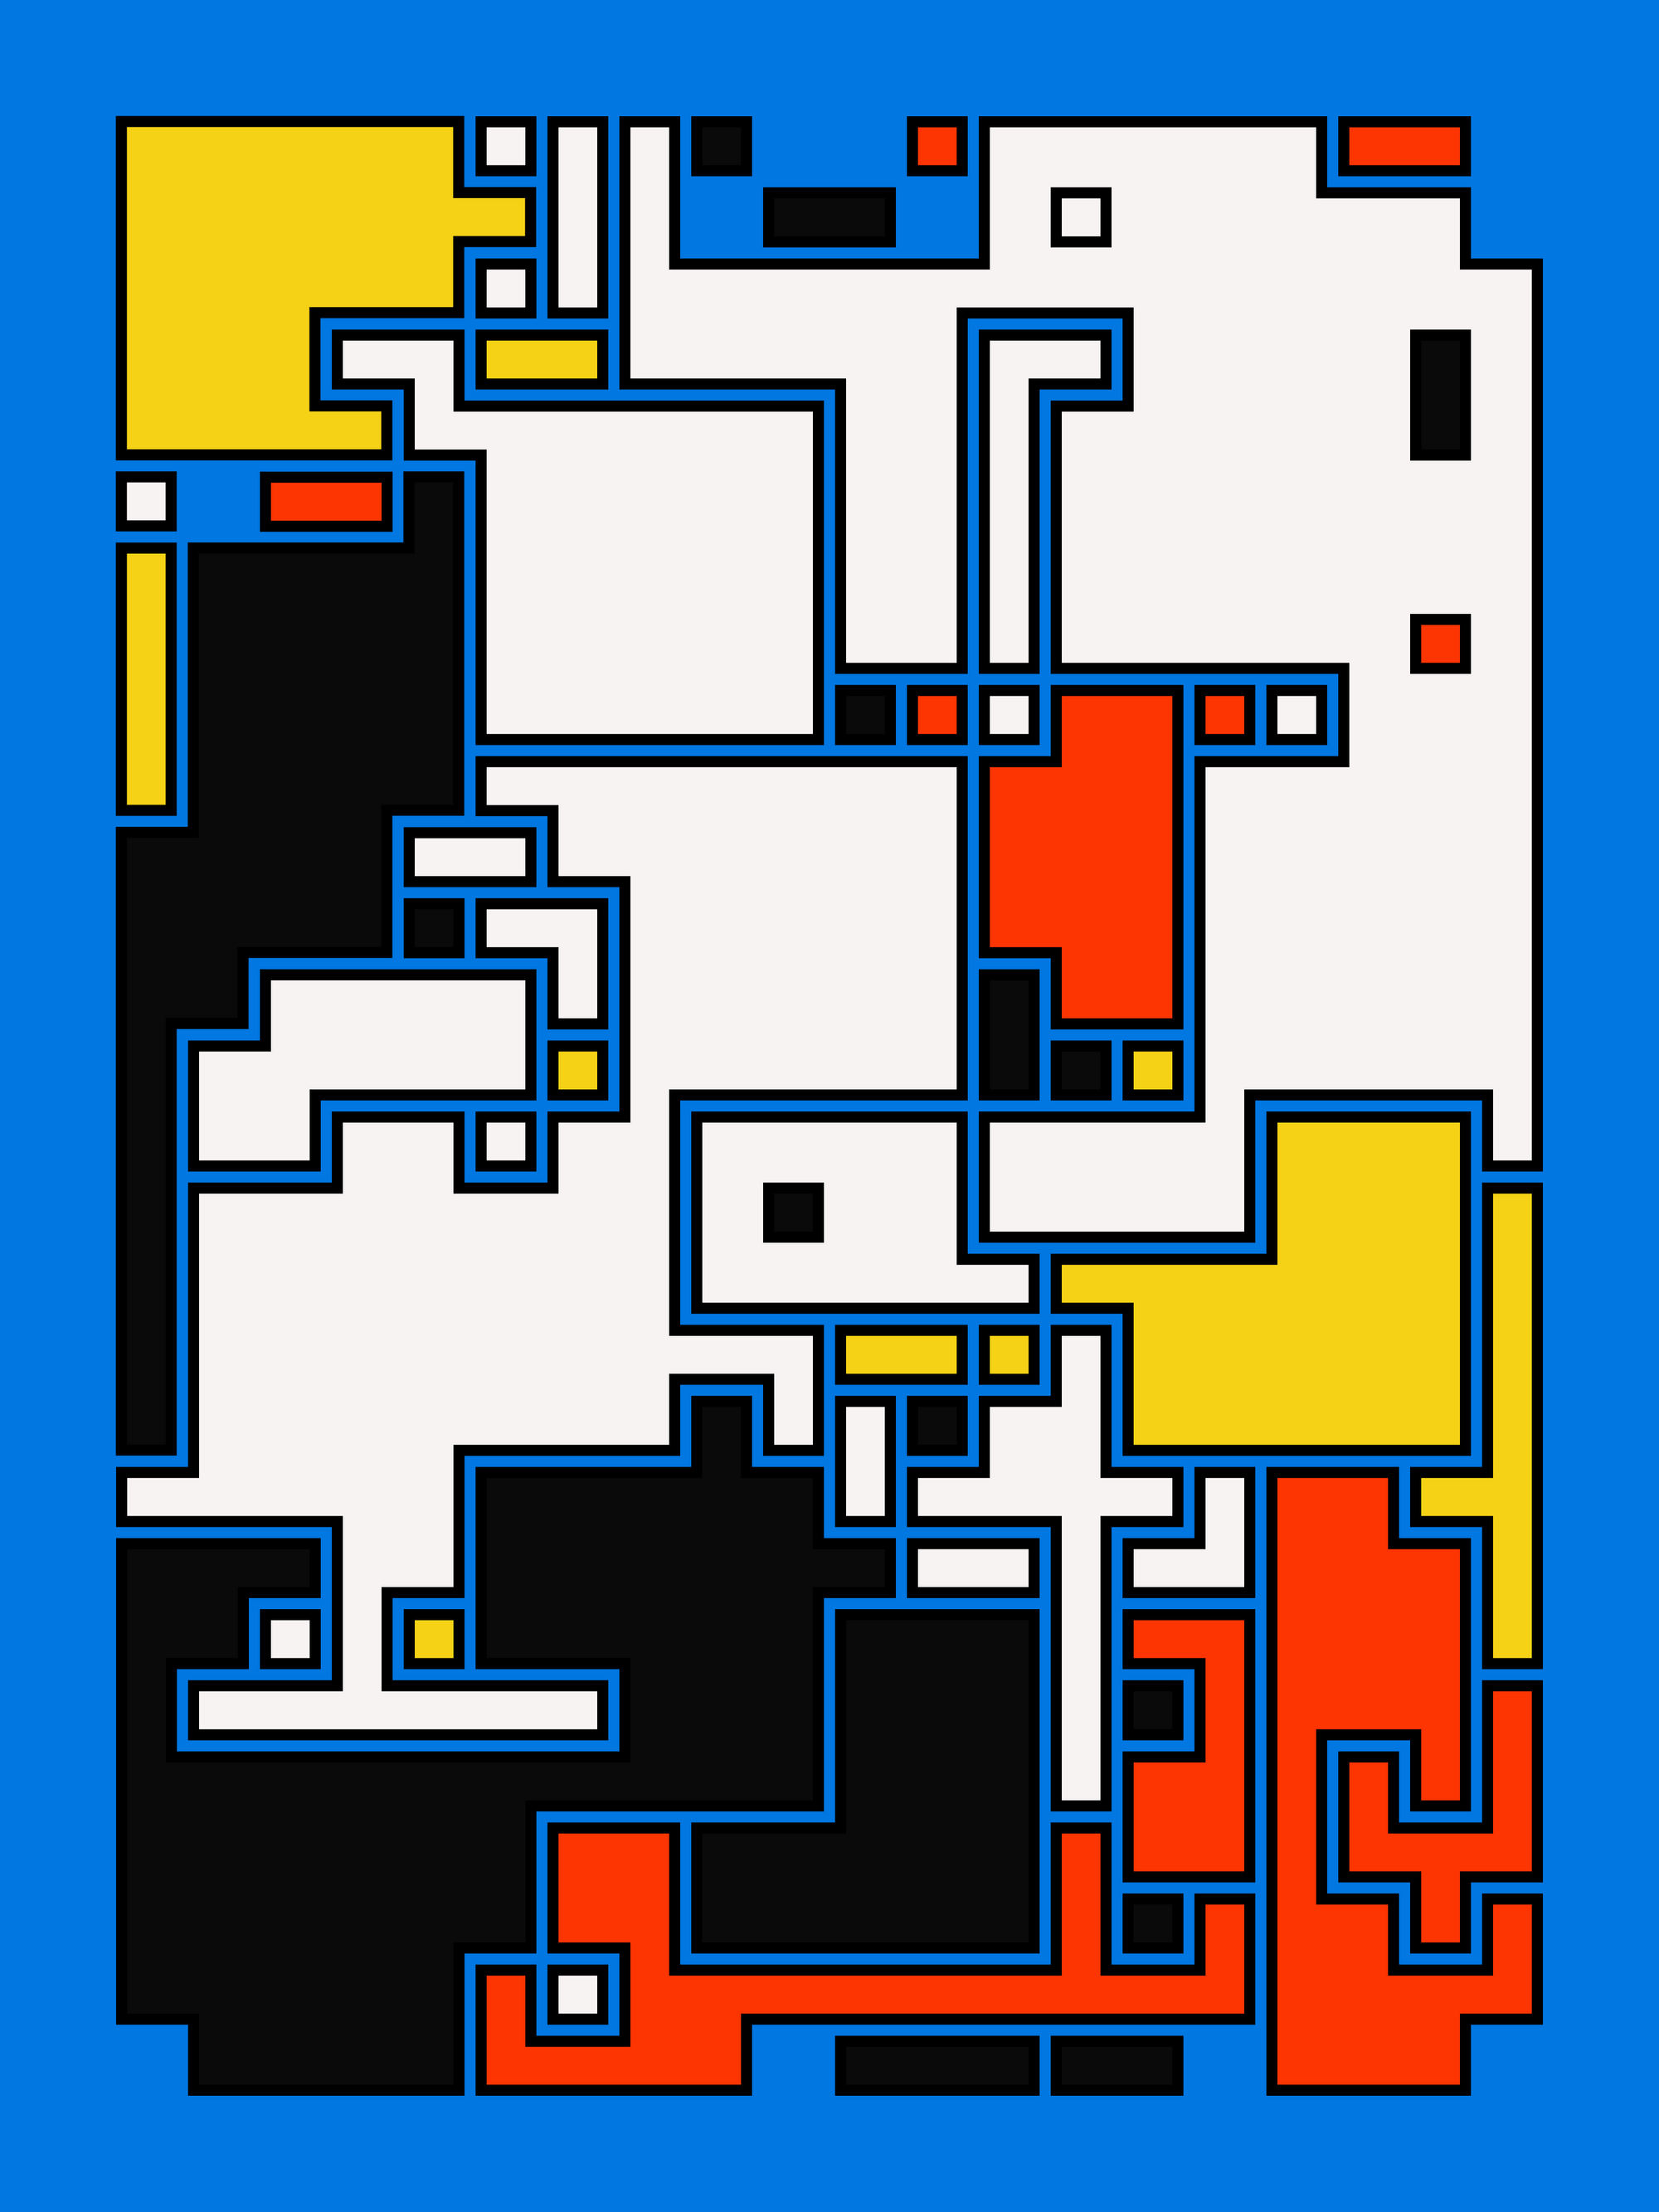
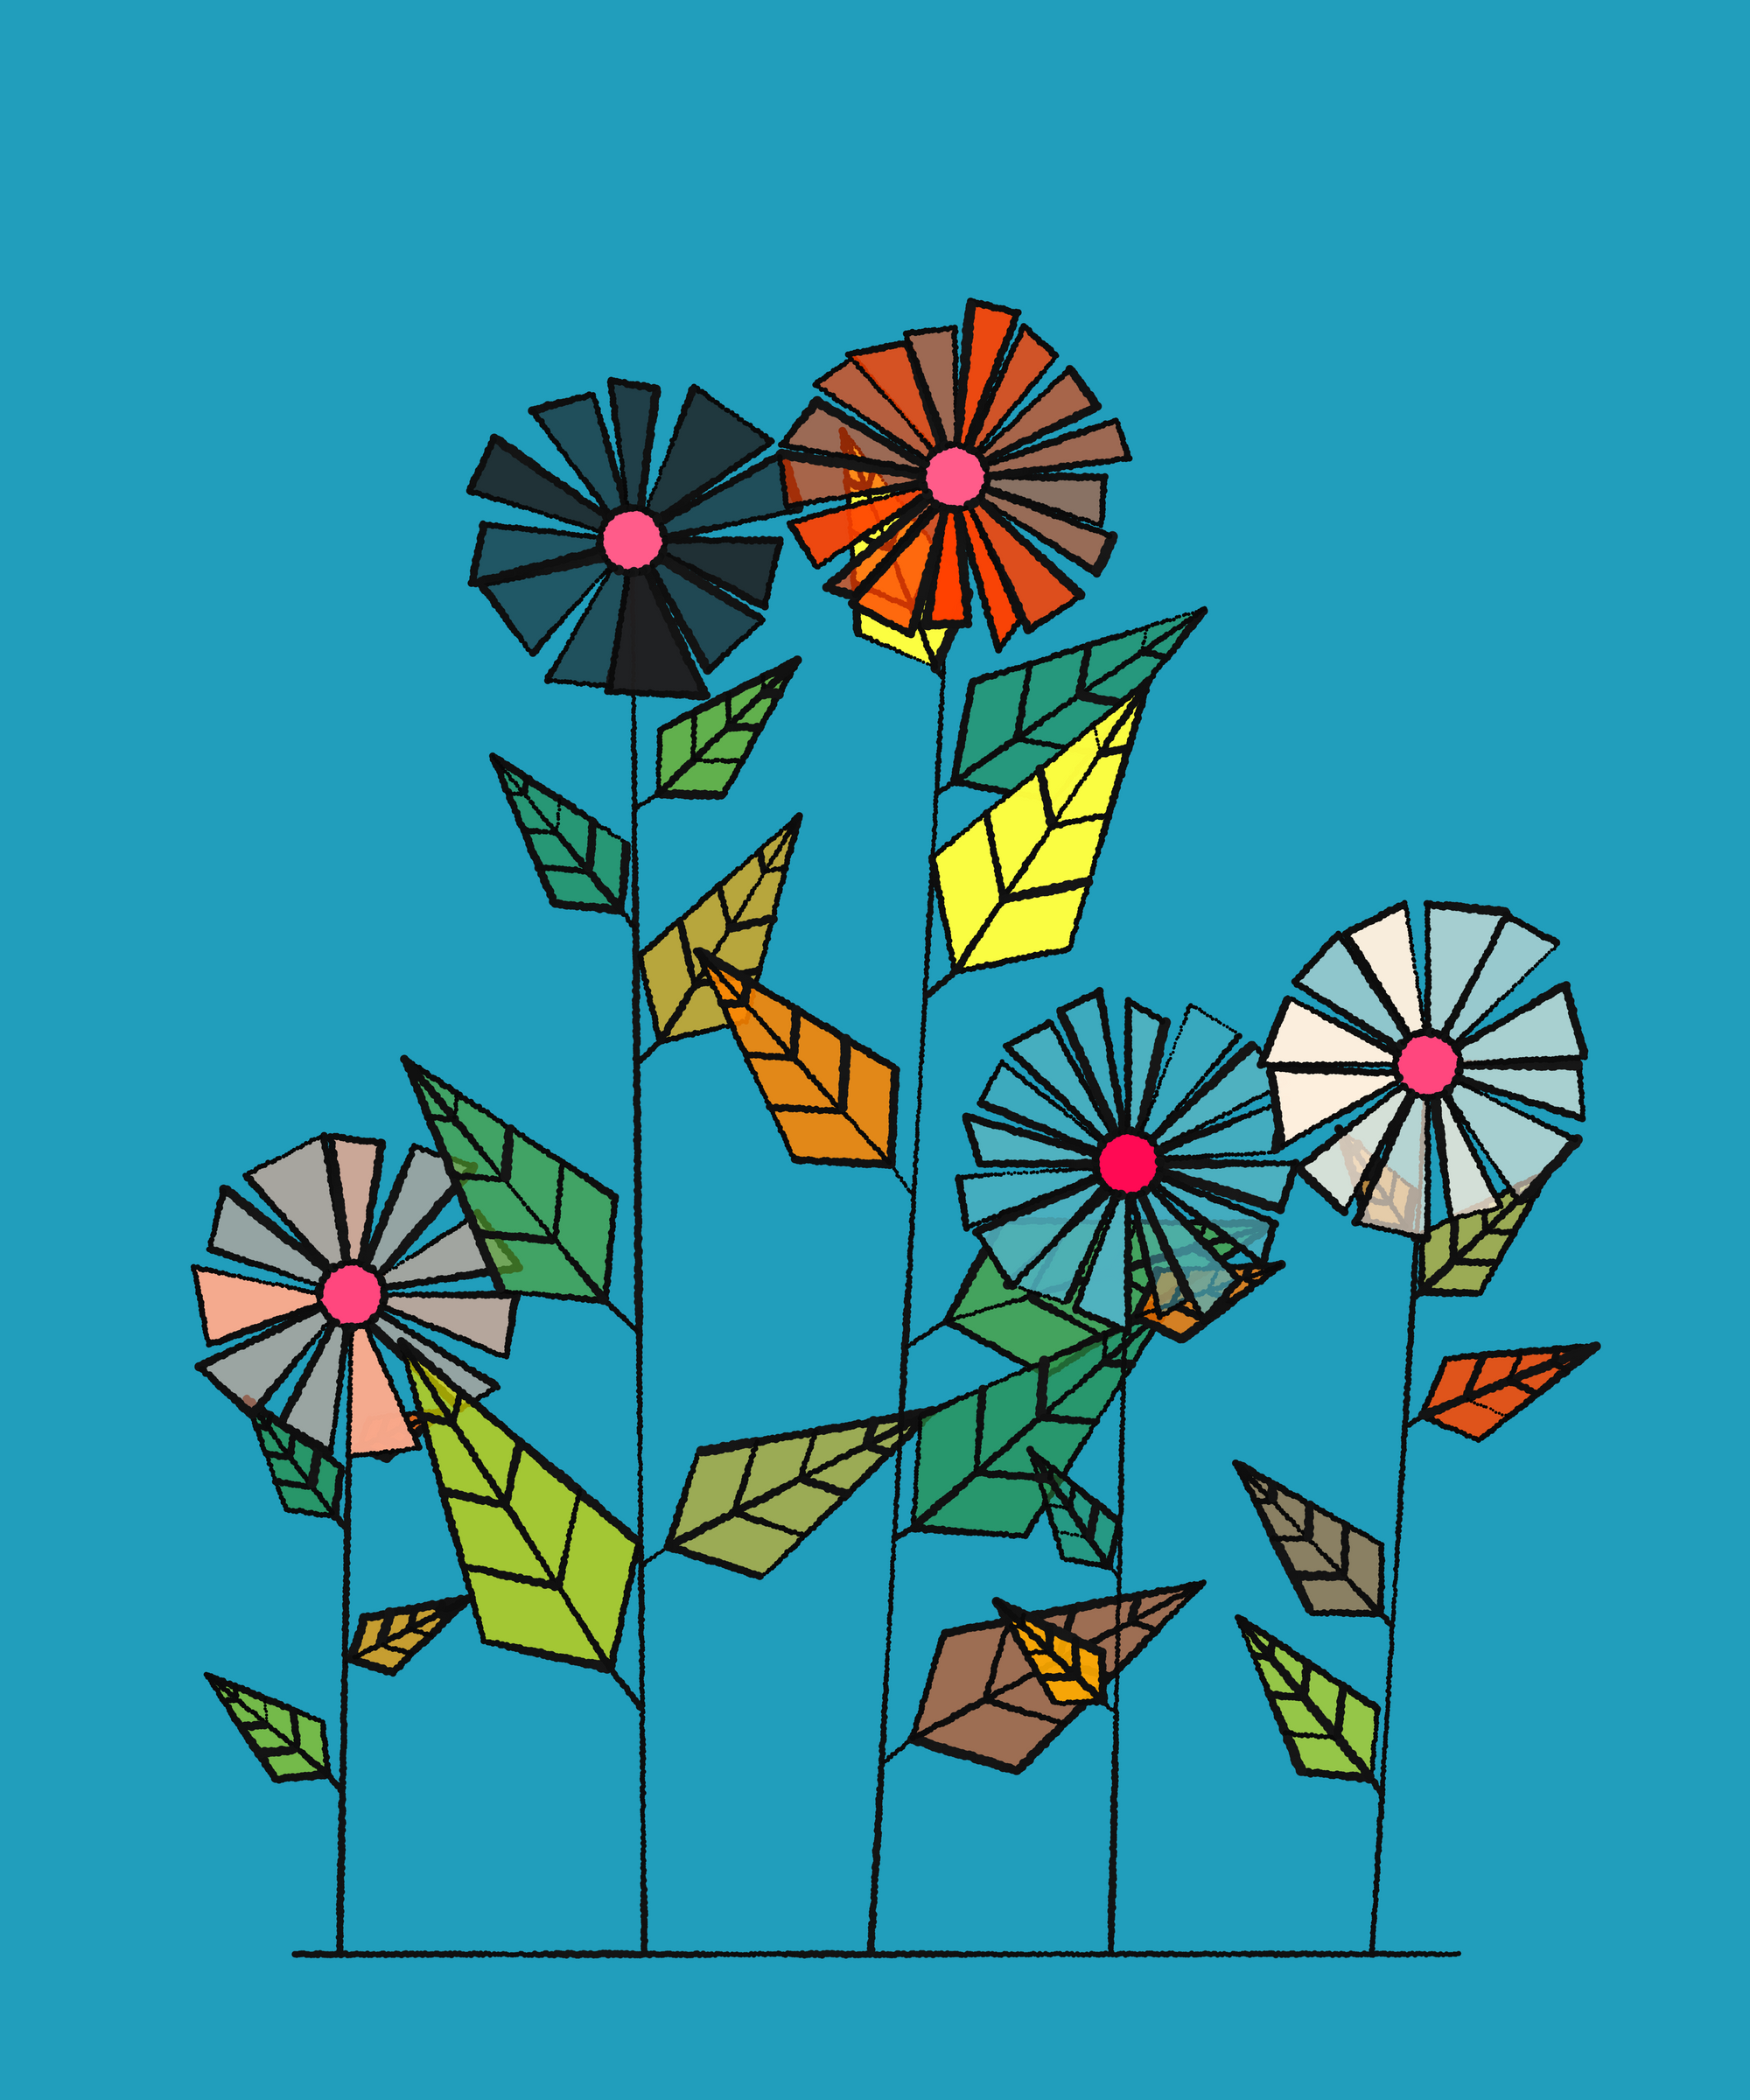
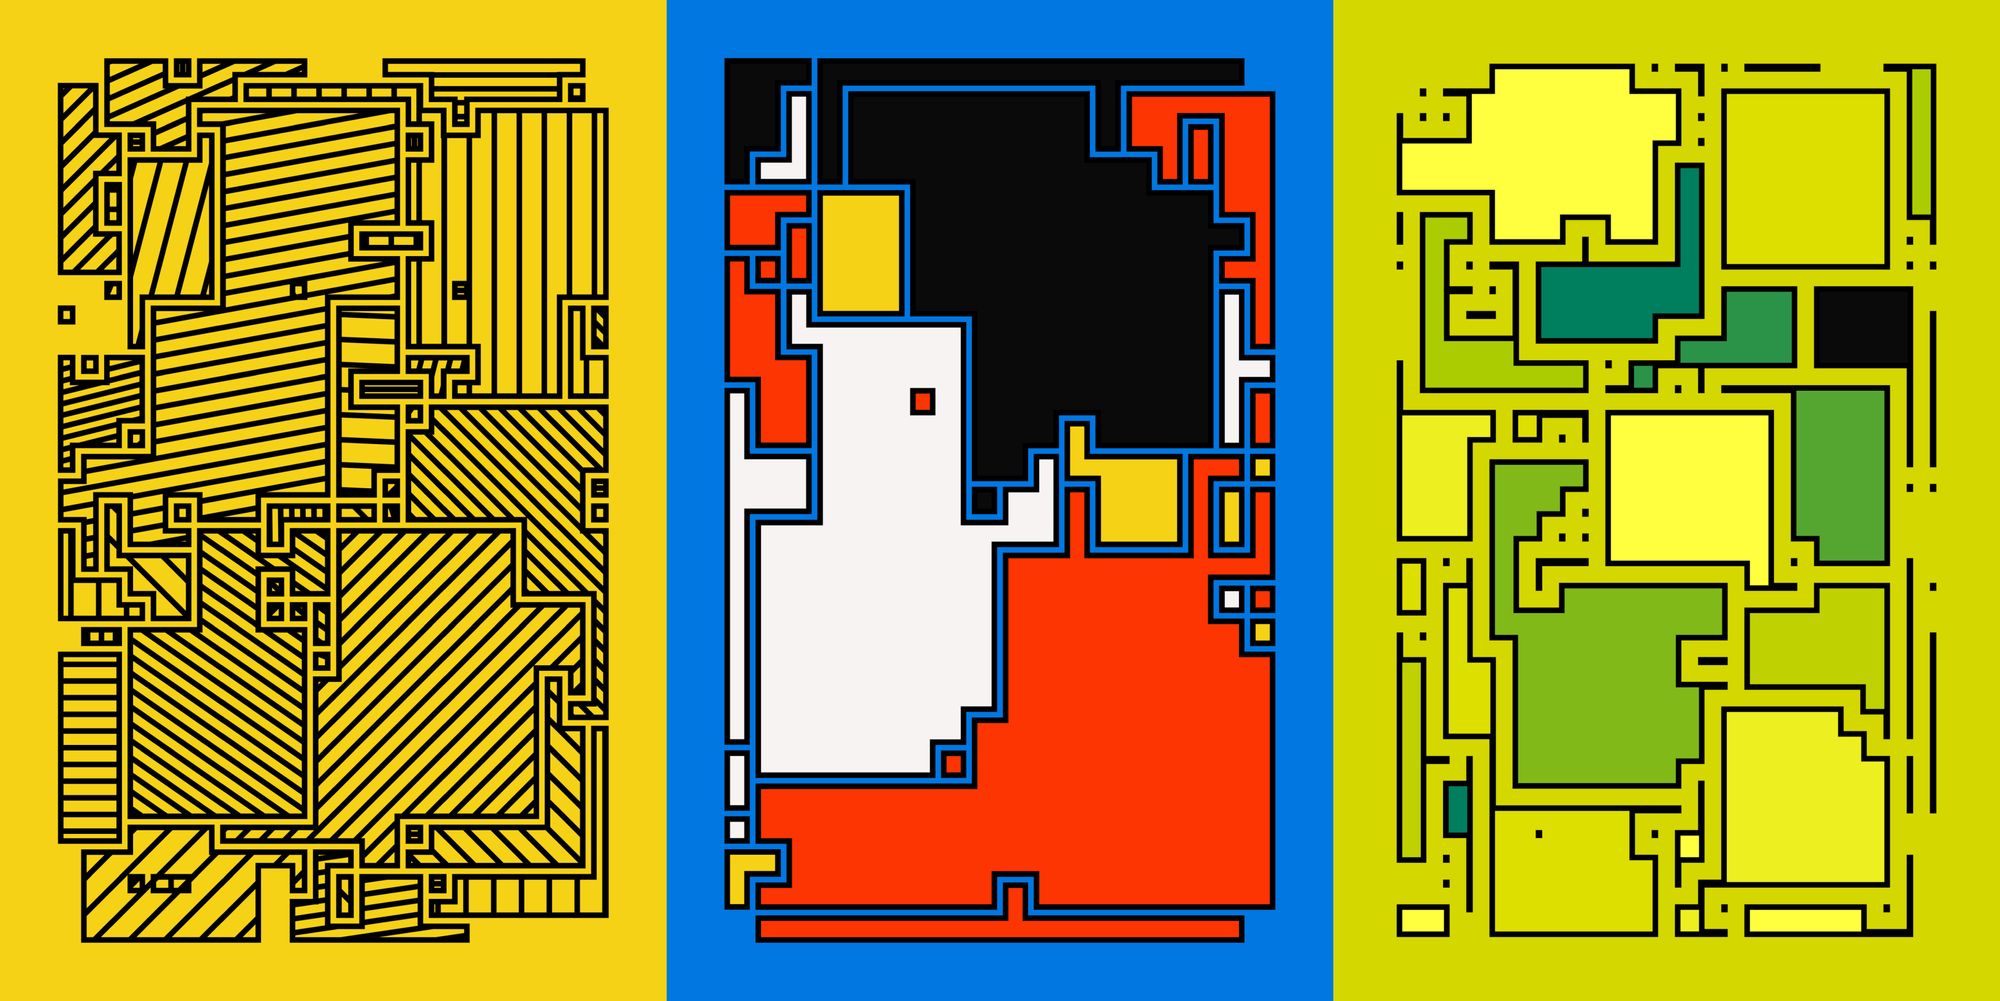
Generative Art is one category under the umbrella term of creative coding, for which P5 is incredibly useful. In generative art the main goal is to create stunning visuals with code, algorithms and math:
Why should you learn creative coding? Creating things is a beautiful part of the human experience. In a world that is increasingly more digitized it just makes sense to also use new technology, especially programming, for the purpose of making art.
P5 makes the creation of beautiful visuals very straightforward and allows the quick prototyping of ideas. This is why we also often call it sketching with code.
Making art with code. What an absurd thing. Count me in!
How do I make a P5 Sketch?
Let's have a look at the different platforms that allow us to create P5 sketches. Here we've got a couple of different options, each of which has it's own set of advantages. You'll be surprised how easy it actually it is!
Online
Sketching in an online editor is one of my favorite ways to make quick prototypes, and to share ideas, as well as code examples, with others. There's two popular platforms to do so, the P5 Editor and OpenProcessing.
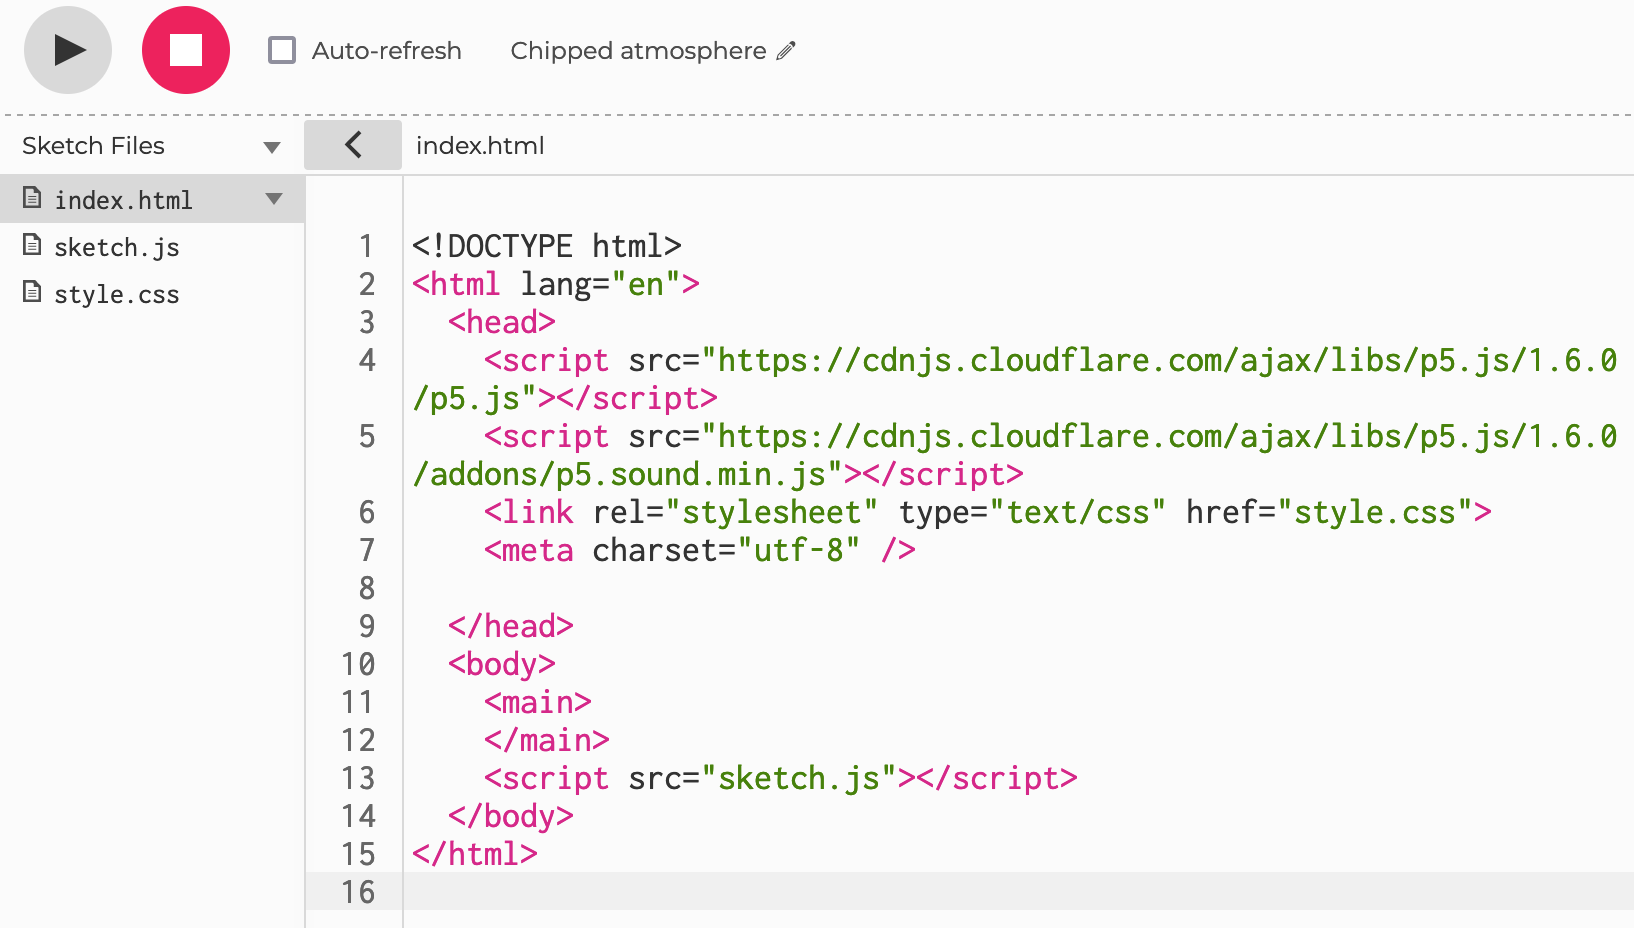
The P5 Editor
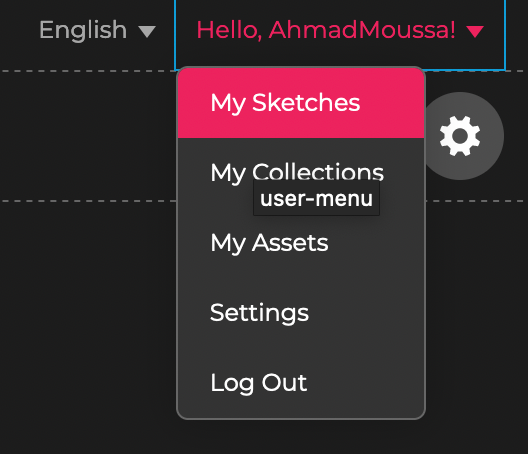
The official P5 editor is the most straightforward way to create sketches, and also allows you to store your sketches online such that you can access them in the future:
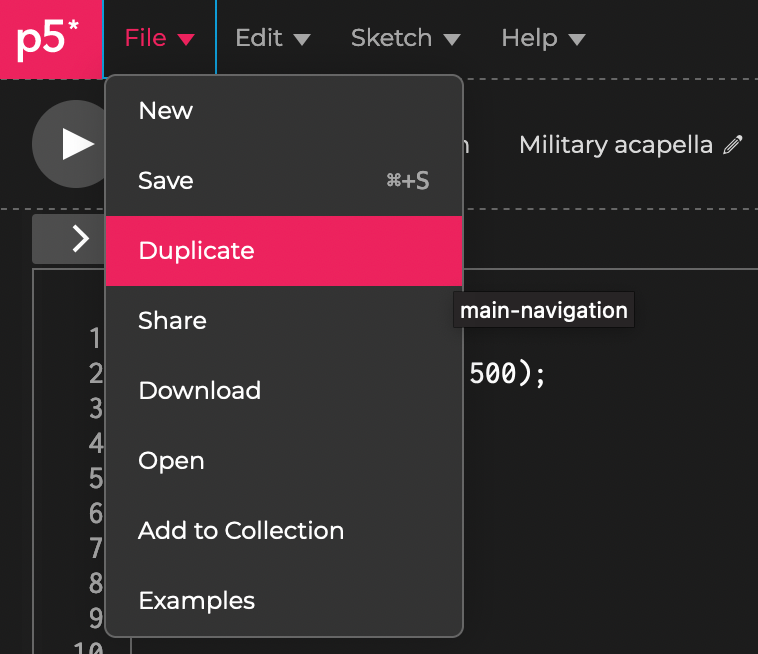
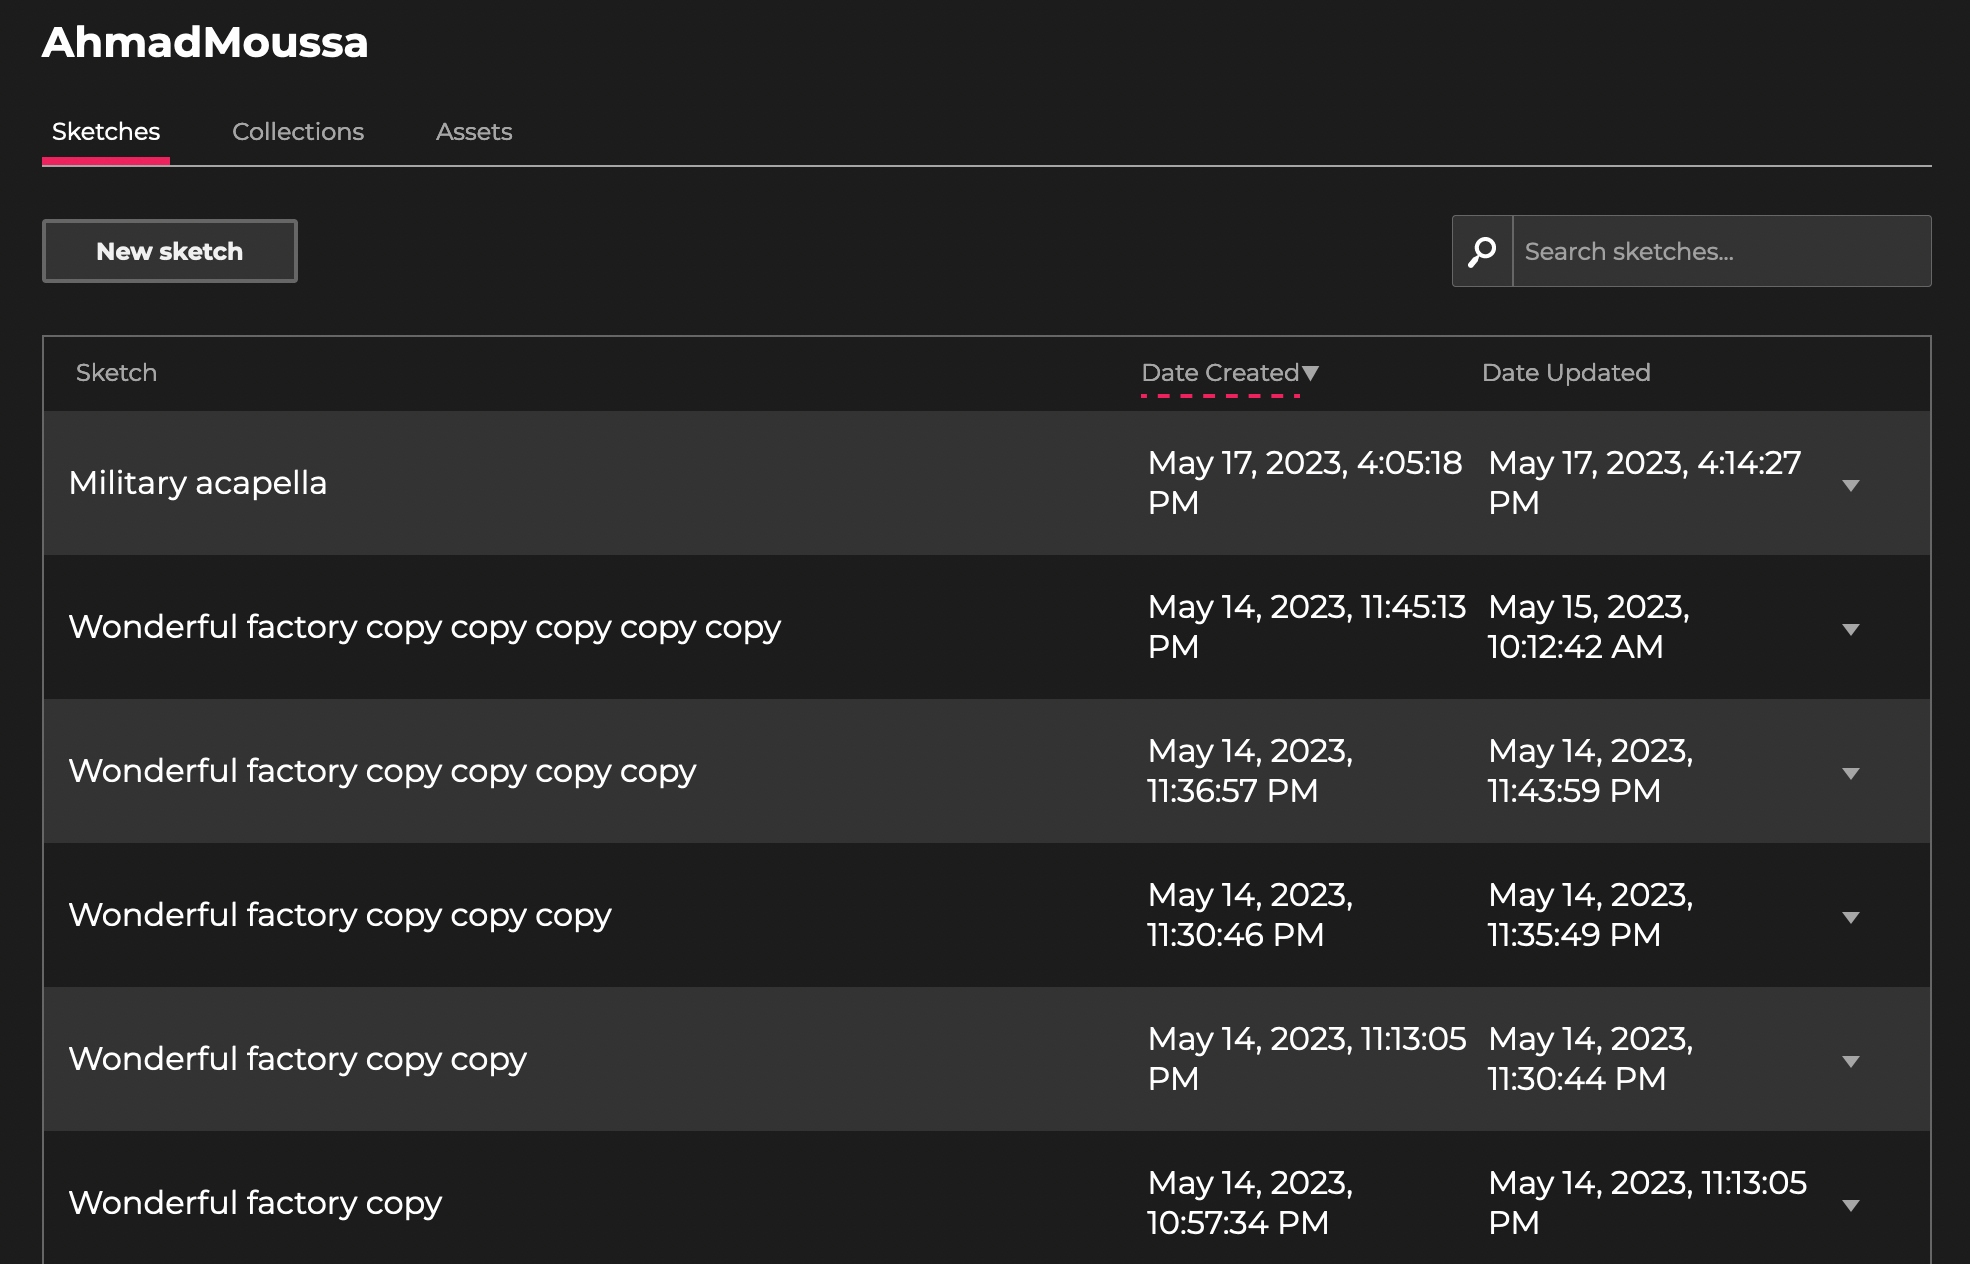
What I like most about it, is how easy it is to quickly iterate on ideas via the duplicate option in the menu. When you make something that you like, and feel like you want to keep coding - without messing up what you've already achieved - then you can quickly hit the duplicate button and continue with a fresh copy. You can then see your previous sketches in a little sketchbook-like list:
What's more, the P5 editor puts great care into being accessible. If you know someone that relies on a tool like a screen reader, they should not have any problems working with the p5 editor!
Openprocessing
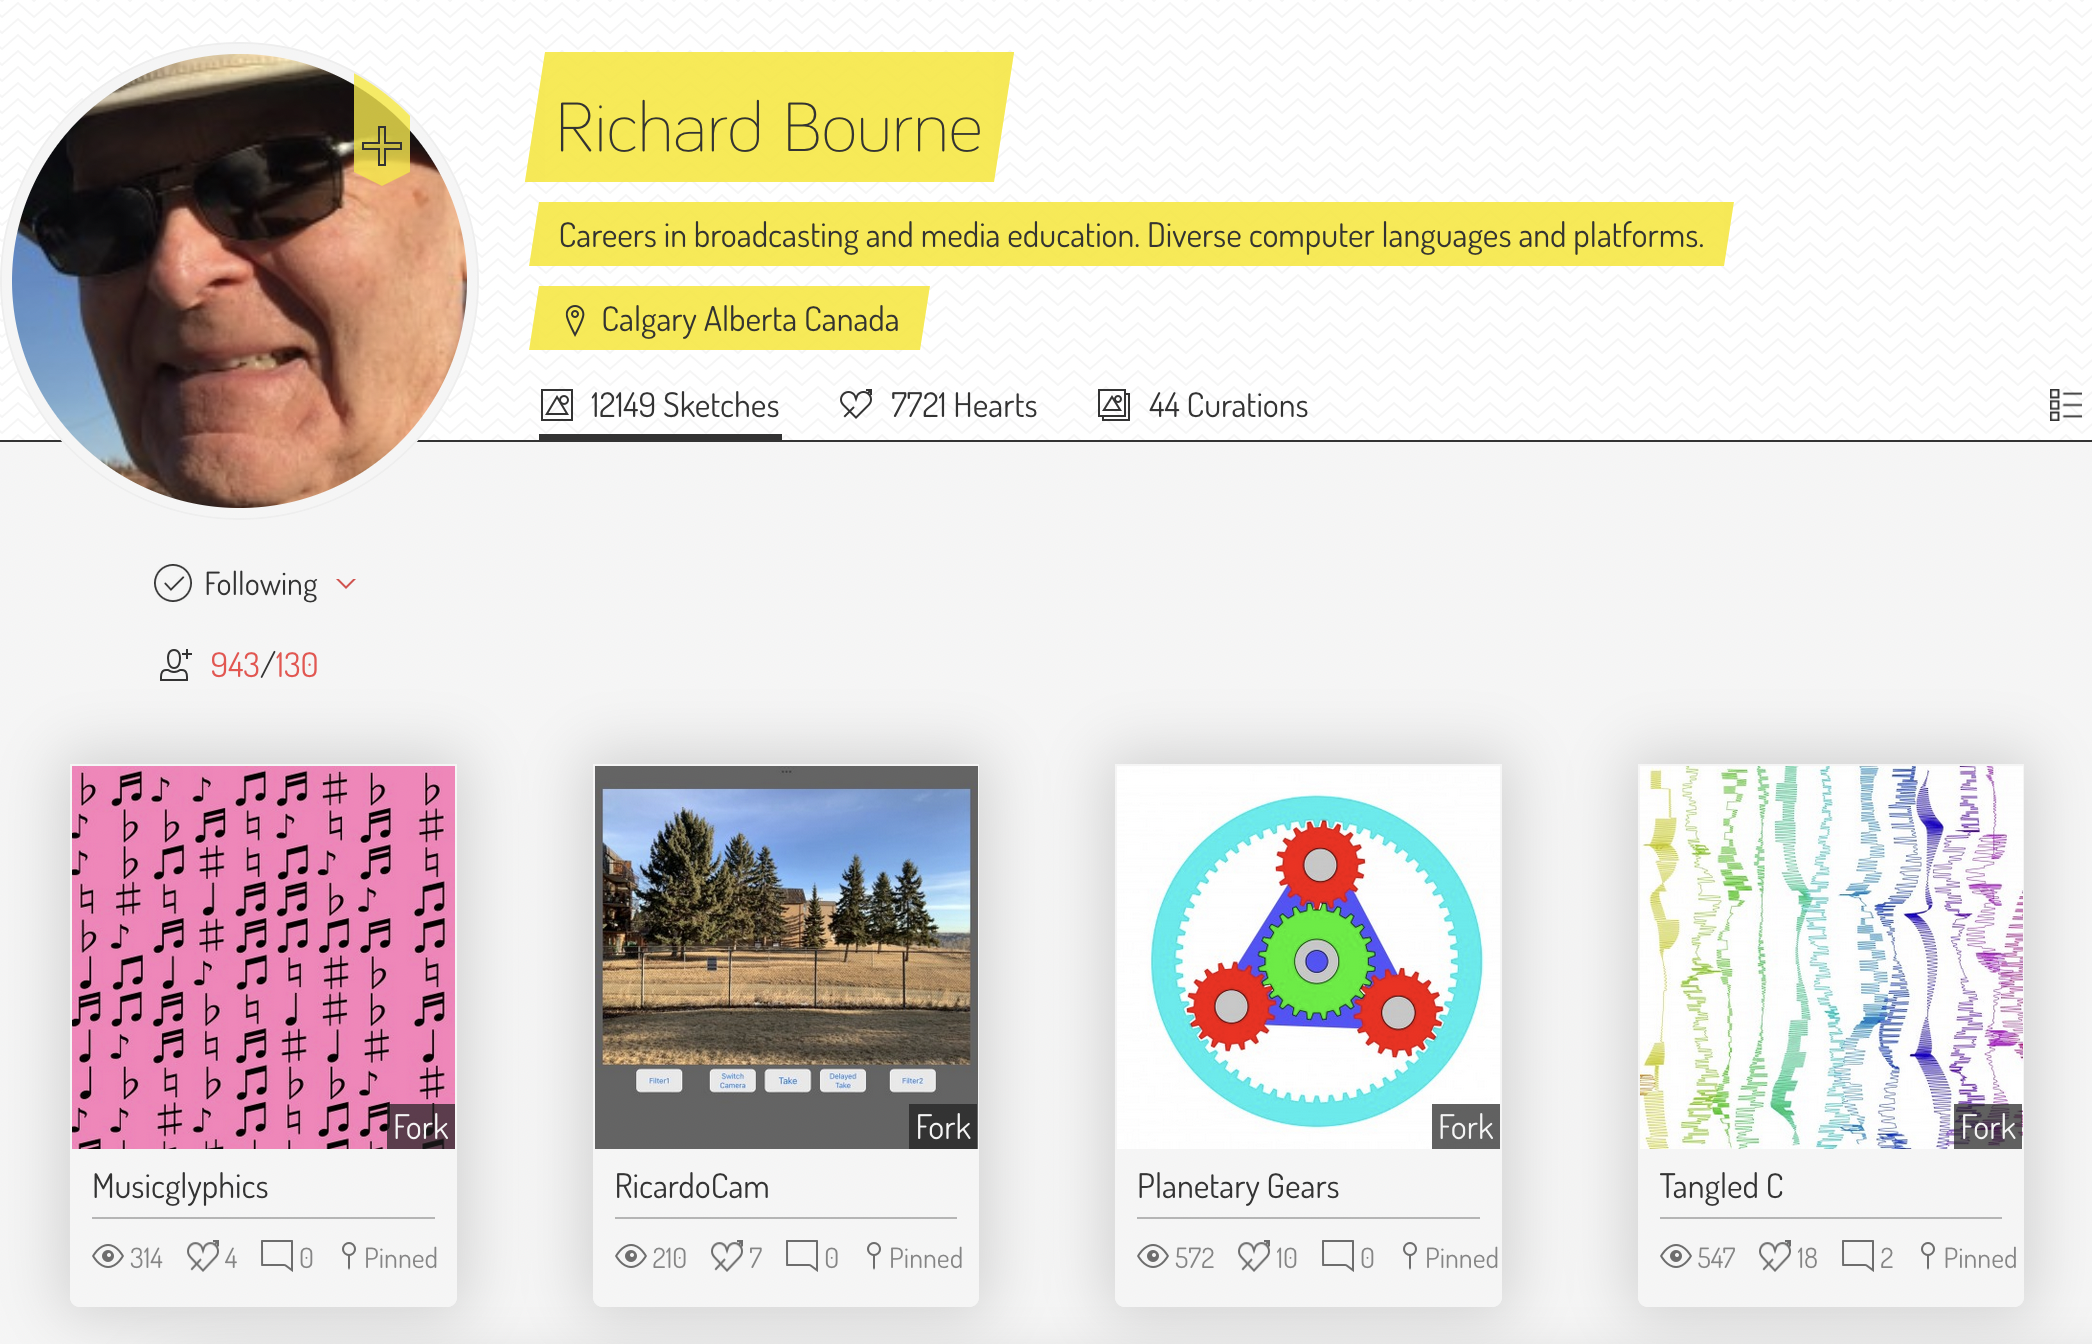
OpenProcessing is the P5 editor's older sibling, that has many more features, and in a way is like a social network for creative coders. It puts great emphasis on discoverability and sharing sketches with others. You can follow other coders, heart their sketches and even fork their creations to remix them with your own additions.

On the activity tab you can see whenever one of the users or curations you follow have created a new sketch, or if they left you a comment. And you can also view what other folks are up to, and what sketches they have created:
There's just way too many things that you can do on there to enumerate here. If you end up liking it consider getting a Plus membership, it comes with some additional perks, like setting your sketches to private for instance.
Offline
Working offline is best when you're working on larger projects, where you might have to break up your code into multiple files, import other javascript libraries and when you're not ready to share your code online yet.
Your own coding environment
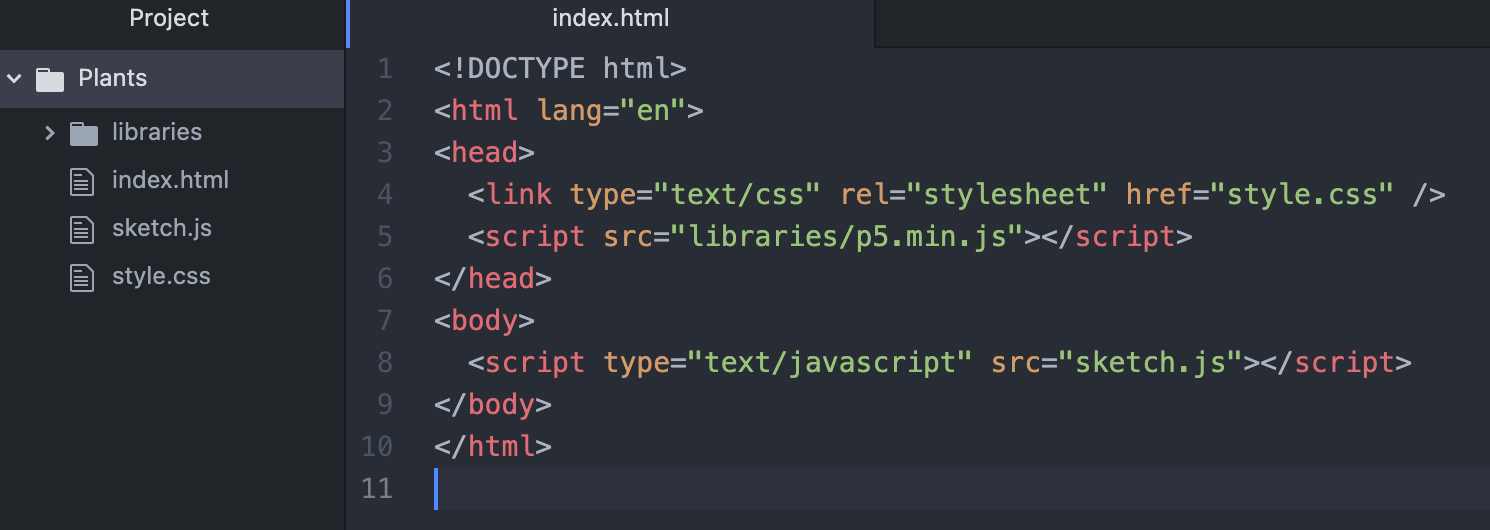
Working on P5 projects offline can be done by downloading an offline copy of the P5 library, and including it in your project folder. You'll then import this library inside your HTML page as a script file, alongside the CSS stylesheet, and optionally, other necessary JS files if any. The project folder structure and the HTML would look as follows:
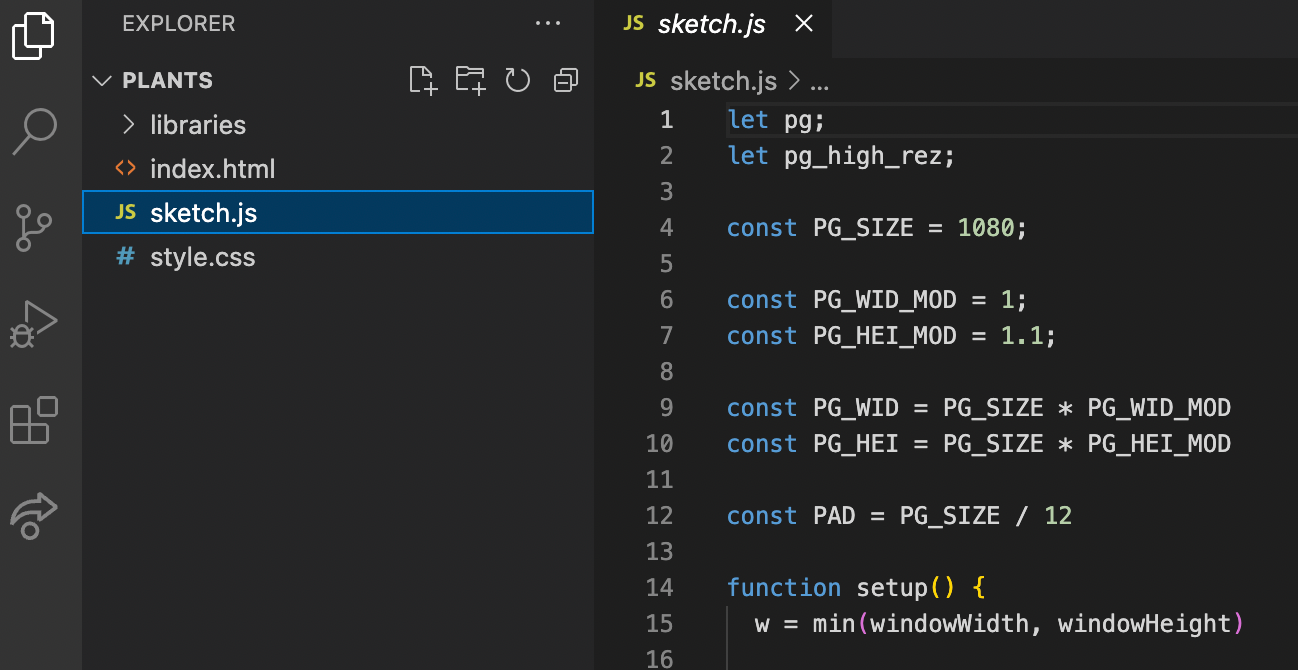
My favorite code editor for this purpose has been Atom up until now - although, sadly, support for it has been discontinued last year.
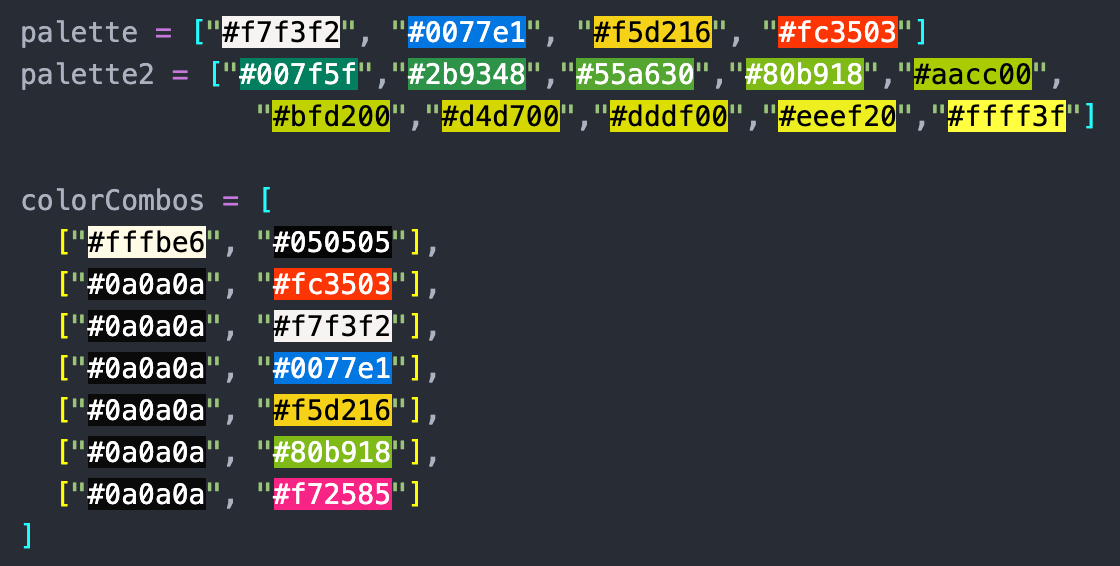
I like Atom because it's simple and lightweight, and additionally has useful plugins. One of my favorite plugins is one that automatically detects hex colors in the code and highlights them with the color that they represent:
But I might make the switch over to VSCode soon, a lot of creative coding folks that I know use it and works well for them:
You can of course also run P5 within a node project, if that's your jam.
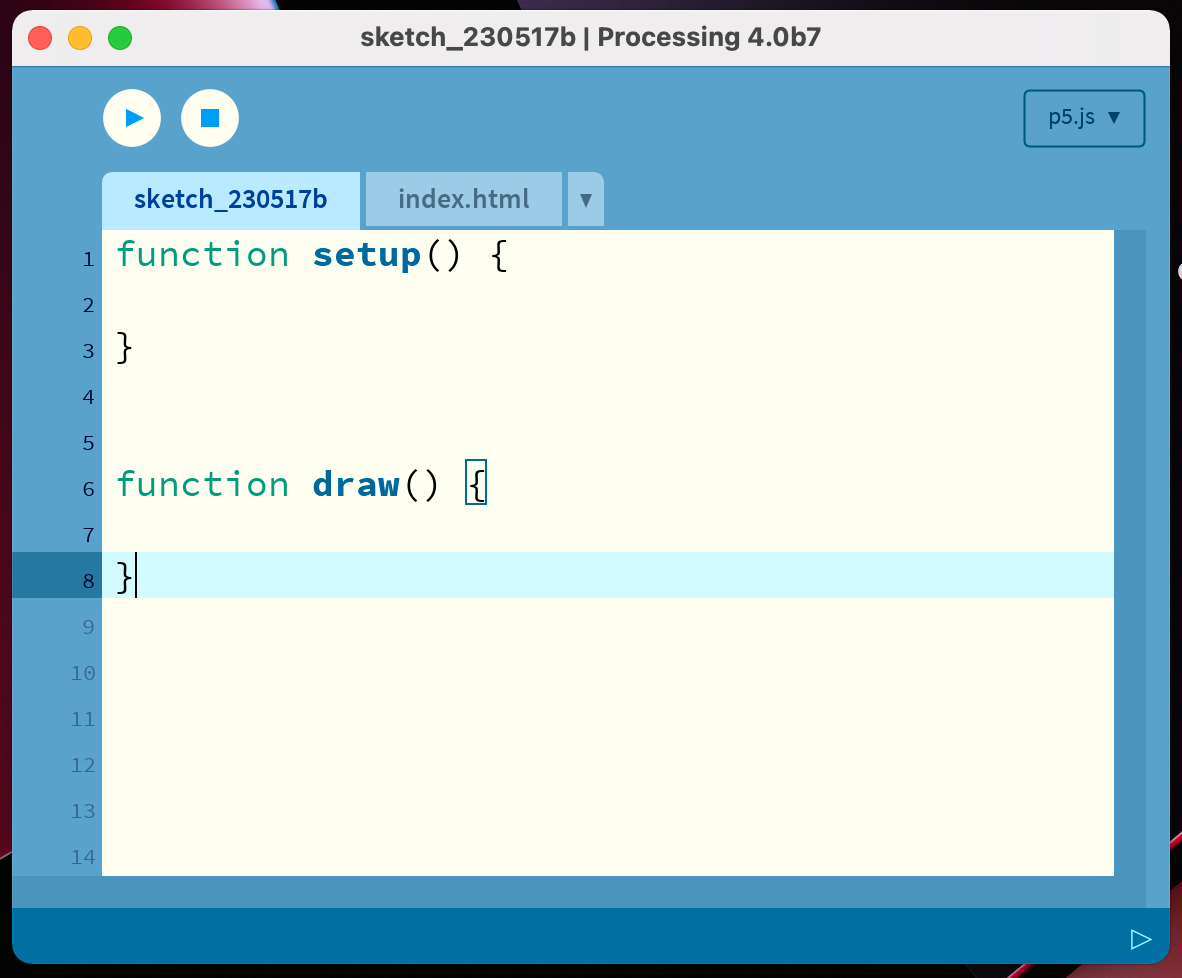
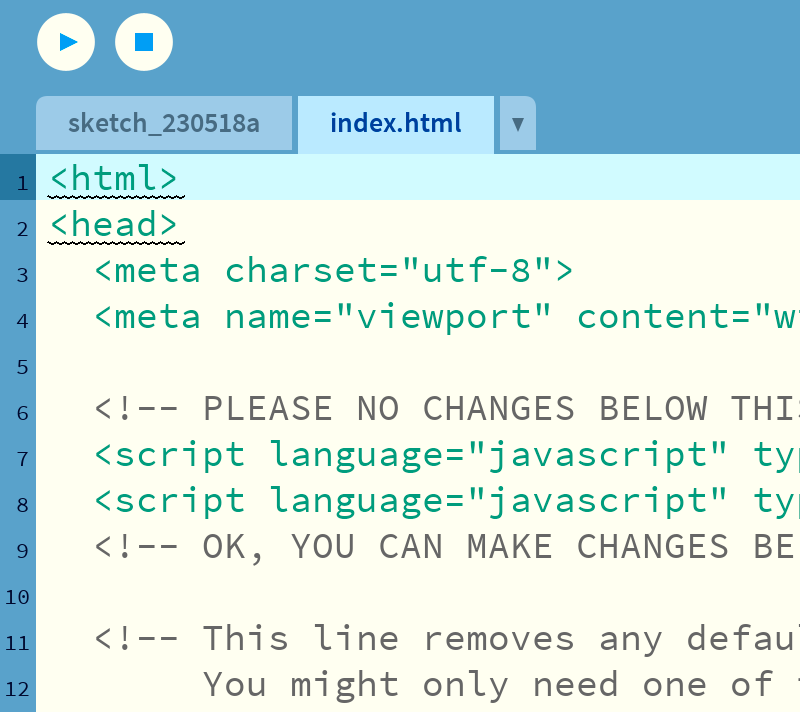
P5JS mode of the Porcessing Editor
Another way to run P5 sketches offline, that requires minimal setup is the downloadable processing editor:
And that pretty much sums up all of the different ways that you can run P5 sketches. Pick your favorite one and get started!
Javascript for P5
P5 is a library written in the Javascript programming language; even though it provides many convenient tools for creating graphics, our sketch will still ultimately boil down to being a piece of Javascript code. That's why we have to talk a little bit about Javascript.
Javascript is a scripting language that runs in your browser. It's become the backbone of the internet today, and almost every page that you visit online has some JS code running in the background.
A webpage usually consists of three parts: HTML code, a CSS stylesheet and some JS code. HTML tells the browser what elements exist on a given webpage, CSS takes care of what these elements should look like and how they are positioned with respect to each other, and Javascript takes care of the functionality and interactivity on that page.
How does Javascript run on a webpage?
The most common way that you'll see Javascript embedded on a webpage, is through the <script> tag. The <script> tag is an HTML element that tells the browser that the page contains some JS code. It allows us to load in external .js files or directly embed js code on the page. When we open an HTML page in the browser, the browser will parse this HTML code and execute the JS code whenever it encounters some.
Here's an example of a very simple webpage that has such a script tag:
<!DOCTYPE html>
<html>
<head>
  <title>Simple Web Page with JavaScript</title>
</head>
<body>
  <h1>Hello, JavaScript!</h1>

  <button id="myButton">Click Me</button>

  <script>
    // JavaScript code
    var button = document.getElementById('myButton');
    button.addEventListener('click', function() {
      alert('Button clicked!');
    });
  </script>
</body>
</html>
Inside of this page's body we find a button and an inline script (js code is placed directly inside of the script tag), that adds functionality to this button. When you press the button you should get a little popup that tells you Button clicked!. Try it for yourself:
In this sense, a P5 sketch is just a simple webpage that runs our sketch code as a script. The P5 library itself is also just javascript code, that gets loaded in at the very beginning of the page's execution such that we can use the tools that it provides within our sketch. If you have a look at the different editors that we mentioned earlier, you'll see that all of them work in this manner:
How much Javascript do I need to know?
You don't need to be a coding whizz to take your first steps with P5 - it's in fact one of the best ways to learn and to get better at coding. However, to kickstart your creative coding journey it's best to learn just a little bit of Javascript as well as some of the basic concepts that are used in programming, such that you become able to translate your ideas into sketches.
At least I would recommend to get comfortable enough with the terminology and programming lingo, such that you can search and research specific problems that you encounter by yourself via search engines. Googling is an integral component of every programmer's coding practice.
A good, but slightly heavy resource that covers everything JS related to sketching with P5 is this one:
 processing
I've also been working on my own complete Javascript course for a while now, and it'll be up soon, so keep your eyes peeled for that! Consider subscribing to the newsletter if you want to be notified about it!
Anatomy of a P5 Sketch
Alright, we've already covered quite a bit of new ground. We've had a look at the structure of a P5 project, how a script runs on a webpage and the platforms on which we can run our sketches. Now let's have a closer look at how a P5 sketch script actually works.
Generally, every P5 sketch consists of two main functions: the setup function and the draw function. When you boot up a new sketch in any one of the aforementioned P5 editors, they'll usually already come with these two functions prepared, and sometimes will even have some more code inside of them. They are essentially the two main ingredients of every P5 sketch.
In this section we'll first have a look at what functions are, how they work, followed by a more detailed discussion of the setup and draw functions, how they work and how we should use them!
What's a function?
Functions are like mini-recipes. They take as input some ingredients and return a processed version of these ingredients. We use them in our code to process data, and break down complex tasks into smaller more manageable steps. In a way, functions are like mini-programs!
In Javascript a function takes the shape of a labeled container, which stores some lines of code. These lines of code get executed (run by the browser) when we invoke (write out) the label/name of this container. This looks as follows:
function someFunc(){
    // code goes here

    // more code here
}

// calling the name of the function executes the code inside of it
someFunc()
Oh, and btw, the lines of code that are preceded by two forward dashes are comments. These lines are ignored when the code is run, and are only in place to provide more information for the person reading the code.
To tell Javascript that we're creating a function, we need to use the function keyword. We follow the function keyword with a name of our choosing, usually a name that is descriptive of what the code inside that function does. We follow up with a set of parenthesis and curly braces. These are mandatory.
The curly braces delimit the body of the function, and the code that we want the function to execute should be placed inside of this body. Inputs to the function are passed through the parentheses, we can specify arguments in between them that we would like to pass to this function.
The special thing about the setup() and draw() functions is that we don't need to explicitly call them inside of our P5 sketches. When we run the sketch.js, the setup and draw functions get triggered automatically by P5, even in the case when they are empty or completely missing from our script. That's why they are a little bit special. You usually also shouldn't call them explicitly as that would throw an error.
What's important, is what we put inside of these functions.
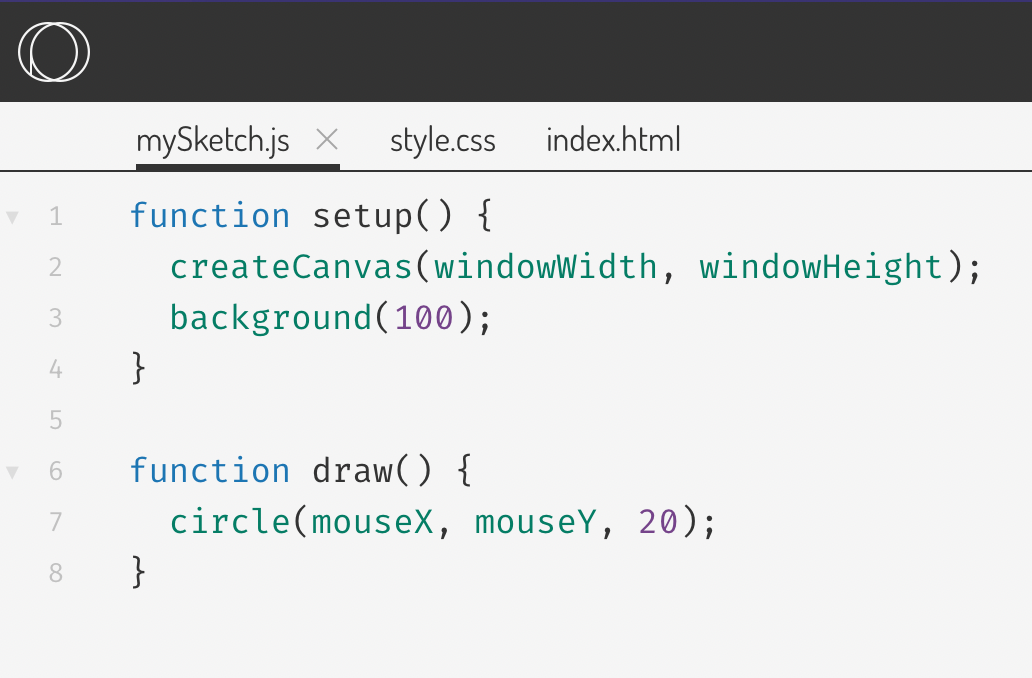
The Setup Function
The setup() function is triggered once at the very beginning when the sketch is run. And as it's name suggests, inside it's body we put all of the code that we want to execute once at the very beginning of the script.
Usually, this includes another function that comes out of the box with P5, and that is the createCanvas() function. This function creates the canvas element on our webpage, basically the rectangular surface onto which we'll draw our graphics later on. The createCanvas() function requires two input parameters, which consist of two numbers that specify the width and height of the canvas:
function setup(){
    createCanvas(400, 400);
}
The Draw Function
The draw() function is run after the setup function has completed all of it's work, and the special thing here is that it will be executed over and over again as long as the script is running, an error occurs, or you explicitly interrupt it somehow.
This behavior is intended and makes animations possible in P5, here's an example of an animation:
We also call this the draw loop. We can control how many times the draw function is executed per second by setting the frame rate with the frameRate() function during setup. The default value here is the frame rate of your display (60 frames on most monitors).
Creating animations in p5 is an entire science of itself and usually involves a fair bit of math and trigonometry to control how shapes need to moving around on the canvas. But at the same time, having such fine-grained control allows you to create really interesting animations.
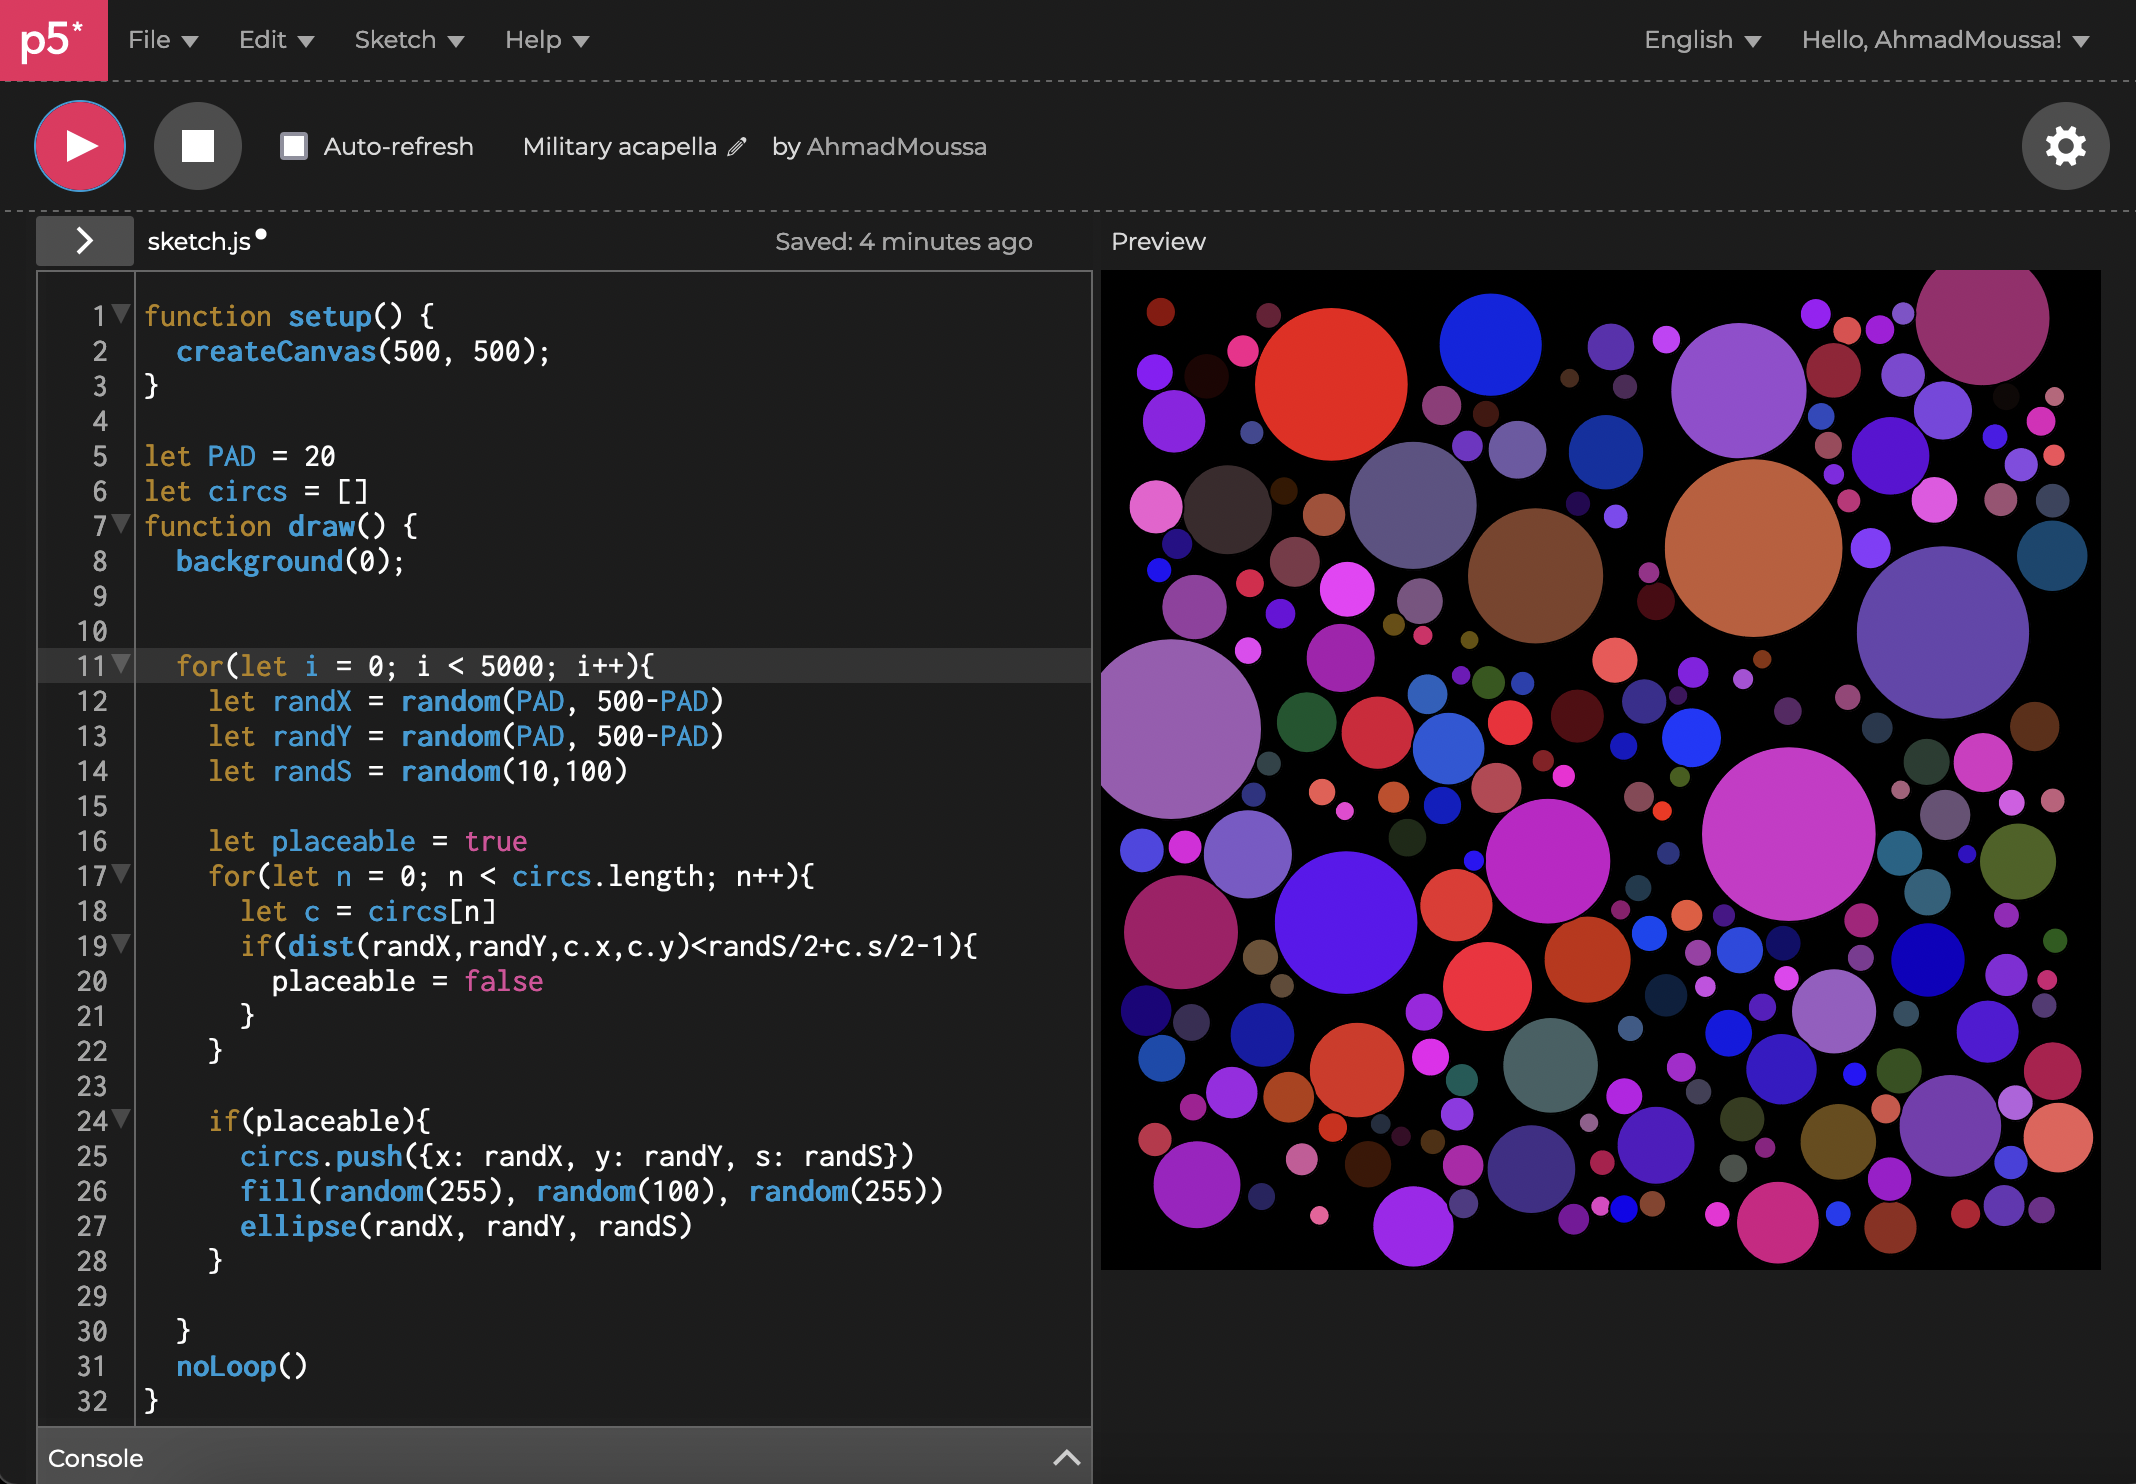
One function that we'll often see inside of the draw() function is the background() function. It's a method that simply applies a color to the entire canvas. In the context of an animation it is very important to fill the entire canvas with a color and reset it that way, otherwise we would see the drawn shapes stack on top of each other every frame. Here's what this looks like:
One last thing to add here, is that if we've set out to create a static artwork that has no moving parts, then technically the draw() function isn't required. We could do everything inside of the setup() function, even drawing stuff to the canvas, and leave the draw() function empty or completely omit it.
Global Variables and Helper Functions
Besides the setup and the draw function, we often need variables that are accessible throughout the entire scope of the code, such that we can change and update their values over the course of execution and subsequently feed them as inputs into other functions, or alternatively use them as unchangeable constants that act as hyperparameters and dictate the overall behaviour of the sketch.
These variables are usually declared and sometimes also initialized at the very beginning of the sketch, preceding the setup() function. Frequently we also need to create other functions, to avoid creating huge blocks of code inside the setup and draw functions, and to make our program a little bit more granular and distribute the code over other functions.
Drawing with P5JS
Now let's have a look at the functions that P5 provides us with. Overall we can classify them into two categories: functions that draw something to the canvas, and functions that change the style of what is drawn to the canvas.
To learn more about these functions, you can check out the official p5.js documentation where you can find an exhaustive list:


Drawing Functions
P5 provides a number of functions that let us draw basic shapes to the canvas. For instance the rect() and ellipse() functions, which as their names suggest, draw rectangles and ellipses to the canvas. Both functions require us to pass values into their parameter lists. The first two parameters for both the rect() and ellipse() functions are the coordinates on the canvas where we'd like P5 to draw the shapes, followed by one or two other parameters that specify the dimensions of these shapes.
Here's an example:
If we pass three input parameters, the rect() function will automatically draw a square shape, applying the third parameter as width and height, the ellipse function will draw a circular shape. Otherwise the third and fourth parameters specify the width and height of the shape separately.
We can also achieve more interesting shapes by creating a path, and specifying the individual verticex coordinates of a shape:
This is just to give you a taste of what is possible with P5, the possibilites are really endless.
Styling Functions
Now, what if we want to change the color of these shapes? What if we want to draw them without a black outline? We can do this as well by making use of some of the styling functions that p5 also provides.
For instance, we can change the color of a shape by using the fill() function:
To color a shape in p5 we simply call the fill() function before drawing this shape, then P5 will automatically know that the color we passed to the fill() function should be applied to that shape.
Color? What color? We just passed some numbers to the fill() function. In P5, and in code in general, colors have number representations specfying the RGB components of that color. Just like mixing primary hues on a palette to obtain new colors, the computer does the same by mixing specific amounts of Red, Green, and Blue.
The numbers that represent the RGB components specify how much of each color is present in the final mix, so for instances if we want to get a pure Red color, we would pass 255, 0, 0 to the fill function. In the context of RGB values the number 255 is the maximal amount. 0 on the other hand specifies the absence of that color.
P5 also supports other colorModes like HSB, and alternatively we can also pass hex color codes as strings to the coloring functions. How to work with colors in P5 is also a topic that we could talk about extensively.
Besides the fill function that changes the entire color of a shape, we can also change the color and thickness of the shape's outline using the stroke() and strokeWeight() functions respectively:
Now something strange happened here. We only specified that we wanted a thicker stroke weight of 5 before the second shape that we drew to the canvas. Why did the first shape also get a thicker outline? This is because the draw() function is actually looping, even though there is no animation. Calling strokeWeight() at the very bottom of the draw function would have the same effect and apply a thicker stroke to both shapes.
The Canvas Rendering Context
Under the hood P5 uses the Javascript canvas rendering context, and in a way acts as a wrapper around the drawing functions that the rendering context provides - making them much easier to use.
The canvas element was introduced by Apple in 2004 with HTML5, and essentially represents a bitmap onto which we can draw with various funtions. In essence, when we call the createCanvas() in p5js, it creates an html <canvas> element and attaches it to the document - the webpage that we're working on. Then it fetches the rendering context and makes use of it whenever we call any of the P5 functions.
In this sense, we can technically do everything that P5 does without using P5, simply by using the rendering context... why would we use P5 then? Well, because it makes a lot of things easier, for example drawing a line in P5js can be done with a single line of code:
line(x1,y1,x2,y2)In comparison to the rendering context where it takes quite a bit more code:
ctx.beginPath(); // Start a new path
ctx.moveTo(30, 50); // Move the pen to (30, 50)
ctx.lineTo(150, 100); // Draw a line to (150, 100)
ctx.stroke(); // Render the path
P5 adds a layer of abstraction on top of the rendering context methods that makes them much easier to use. Some features that exist in the rendering context are not part of P5 yet, but luckily we can mix and match and get access to these features by invoking the rendering context.
This is a bit advanced if it's your first time working with P5, hence you don't need to really worry about this for now.
Your Next Steps
There's a large body of resources, and many content creators out there that'll teach you creative coding with P5, some of these creators and resources are:
- The Coding Train by Daniel Schiffman and his book The Nature of Code
- Raphael de Coruville's Birbsnest and his weekly creative coding challenge - one of the best ways to improve in a fun way all while getting a free code review. Also check out that creative code page which lists some of the popular creative coding techniques and cool algorithms that can be used for creative coding.
- Stevesmakerspace Youtube Channel that mainly revolves around making cool things with P5.
- This awesome thread by Adam:
YOU are going to make a piece of generative art right now in 10 minutes.
— Adam genlight (@generativelight) April 28, 2022
No watching tutorials, no downloading software. Just your browser and 21 lines of code.
By the end you’ll have a basic, but fun abstract generative art collection like this. #generativeart pic.twitter.com/JmZ5IMagly
And there's many many more - shoot me a message if you've found a cool resource and I'll add it here! Make sure to also check out some of the posts on this blog, there's quite a few tutorials on here at this point!

And that's about it! I hope you enjoyed this post and it was helpful to get you started on your creative coding journey. Let me know if it did and shoot me a DM with your first creation over on Twitter.
Cheers, and happy sketching ~ Gorilla Sun 🌸