A couple of years ago, I saw a video by Andrew Huang where he makes music with videos of fireworks. He uses a software that takes as input the pixel values of the individual frames of these video while they're playing, converts them to MIDI signals and then get sent to his modular synth.
Since I don't own a modular synth, the next best was Ableton Live, with which I could potentially simulate a similar setup. This required me to somehow automate the process of sending MIDI information over to Ableton.
There isn't much info on this on the internet, but after a little digging I was able to piece together all the components that I needed. For this purpose, I also created a github repo that takes you through the necessary steps to have a python script trigger a synth in Ableton Live. To date, it's become my most starred github repo!
Let's get started!
Requirements
- Naturally you'll need to have installed python on your device.
- After verifying that you have installed it correctly, install this package via pip:
!pip install python-rtmidi - And we'll also need a software like Ableton that has the ability to receive external MIDI signals and process them.
- On windows we will also need this software: LoopMIDI by Tobias Erichsen to create virtual MIDI ports.
rtmidi is a python package that makes it easy to create MIDI signals with a couple of lines of code and send them to open ports on our device.
Ableton Live however doesn't have a feature where such ports can be created, we need an additional software to do so, one of them for windows is LoopMIDI. On mac there is a native method for doing so already, hence we don't need to install anything.
Later on we just need to send a MIDI message from our script to the port that we've created, and configure Ableton such that it is listening to that port and receive the MIDI messages.
Setup on Windows
Creating a new port with LoopMIDI is as simple as running the executable and then clicking on the small + button in the lower left corner. You'll see a new entry pop up in the list of ports. And voila, we have created a port!
Setup on Mac
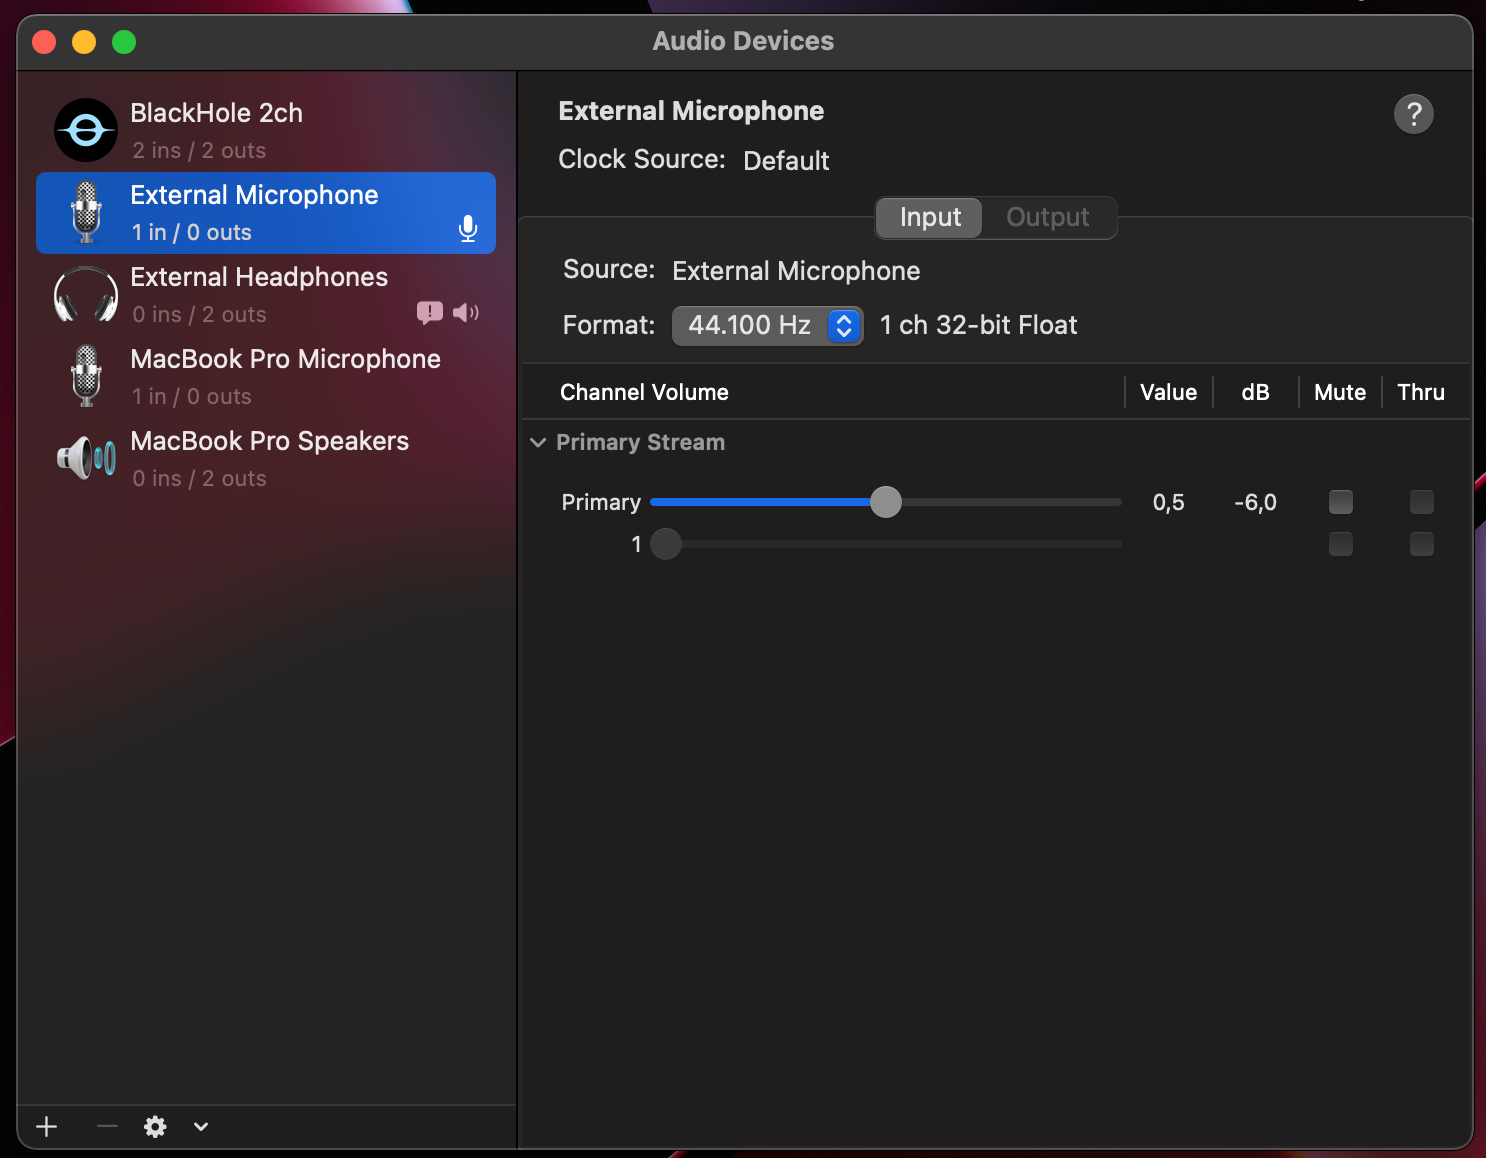
On a mac we only need to install the rtmidi python package, since there already is a native method to create virtual MIDI ports. For this purpose bring up your search bar by hitting the cmd + space buttons, and type in 'Audio MIDI Setup'

Then you should see this window pop-up:
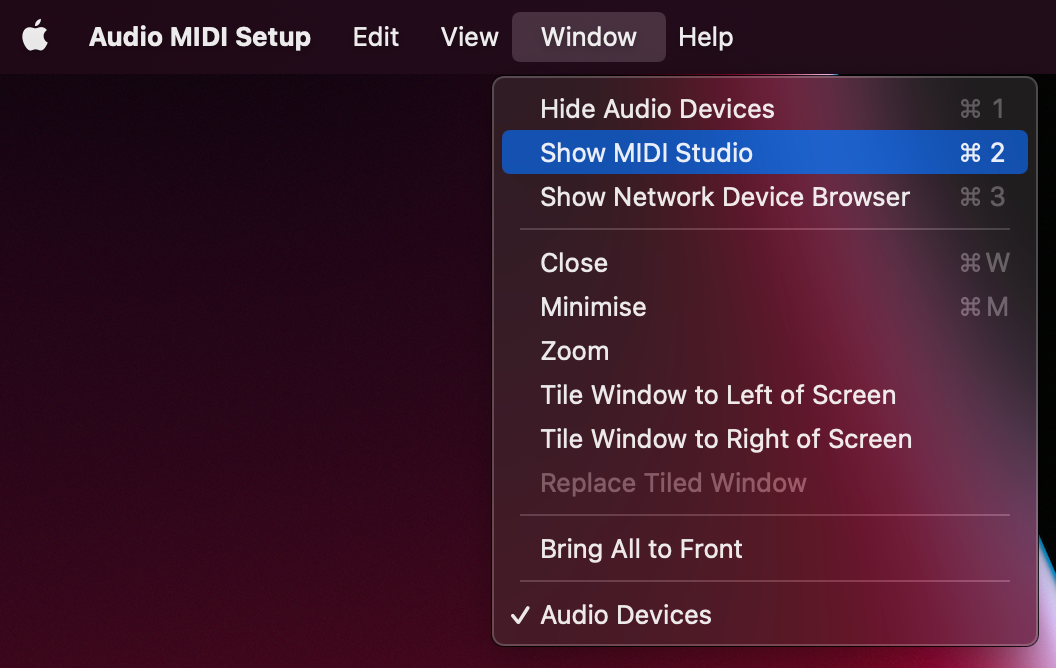
We don't actually care for anything in here, we're gonna head over to the options that will show on top of the screen, select 'Window > Show MIDI Studio' and select it.
This will bring up a new window that looks as follows:
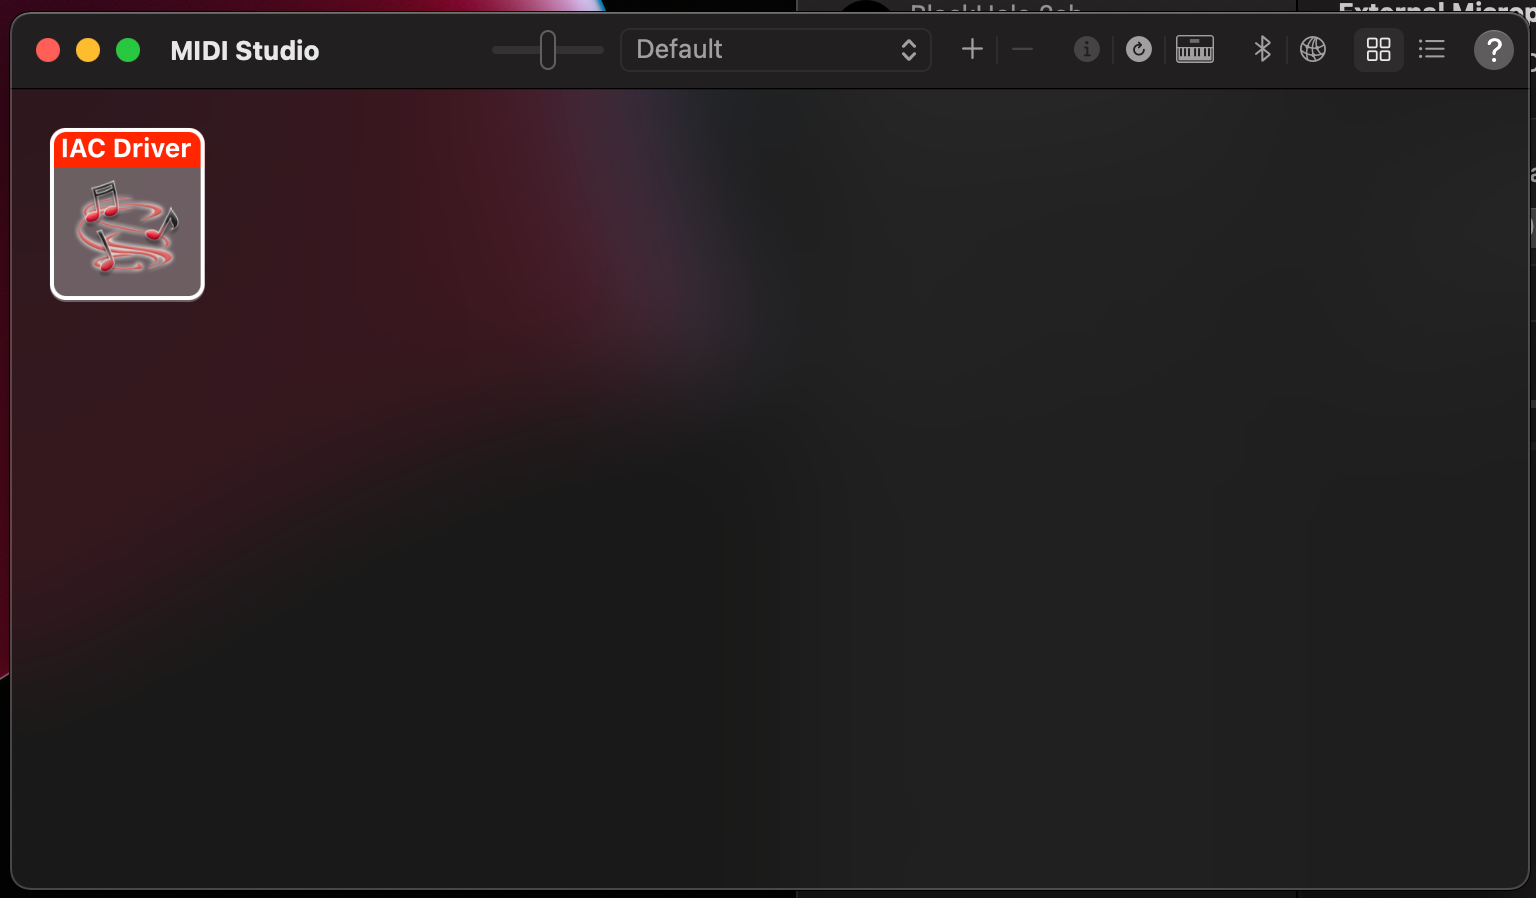
Now double click on IAC Driver and we get yet another window:
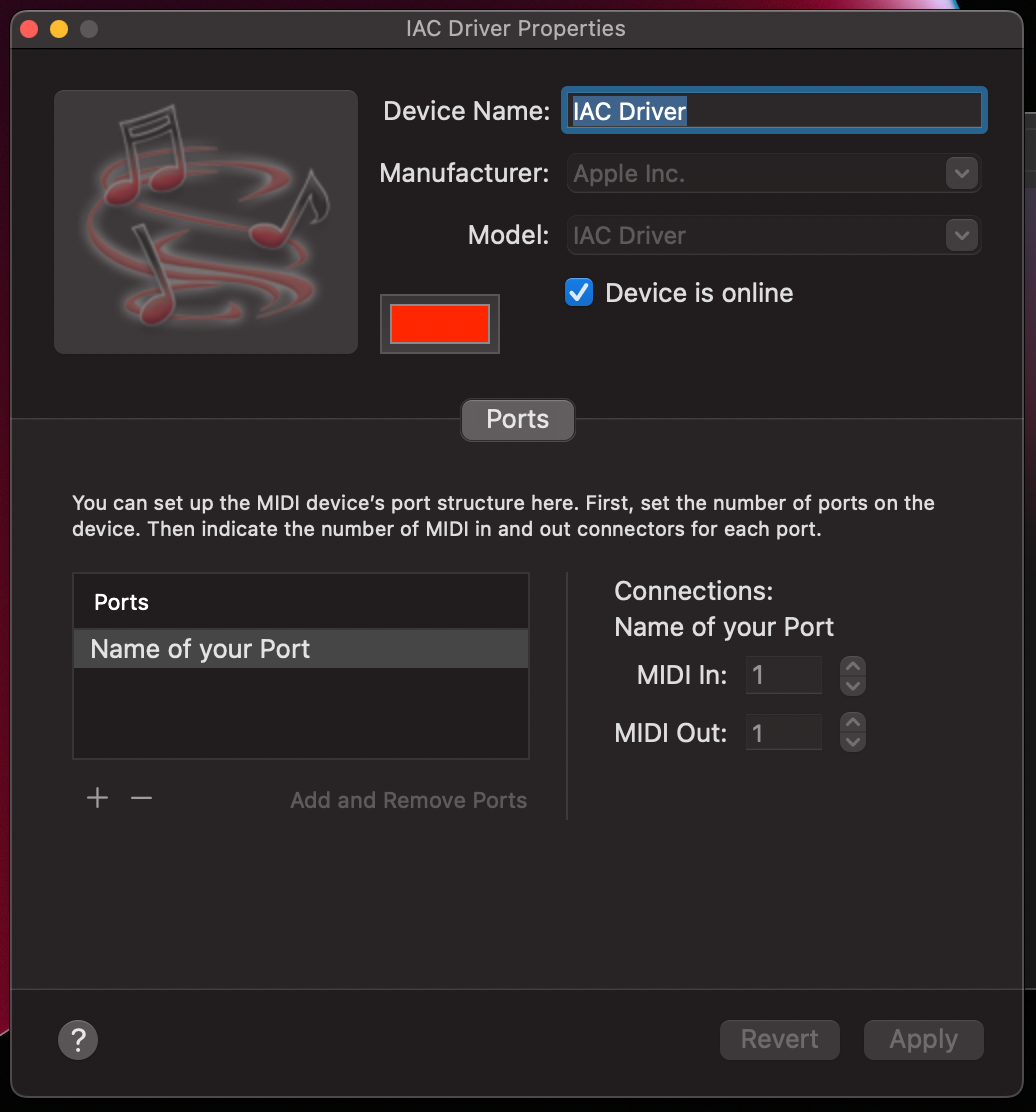
This manager will allow us to create virtual MIDI ports! By hitting the small plus button under the box we can create as many ports as we like, then we can also change the name of it and we also need to apply these new settings.
In the next section we'll see how to send a signal over from python to these ports.
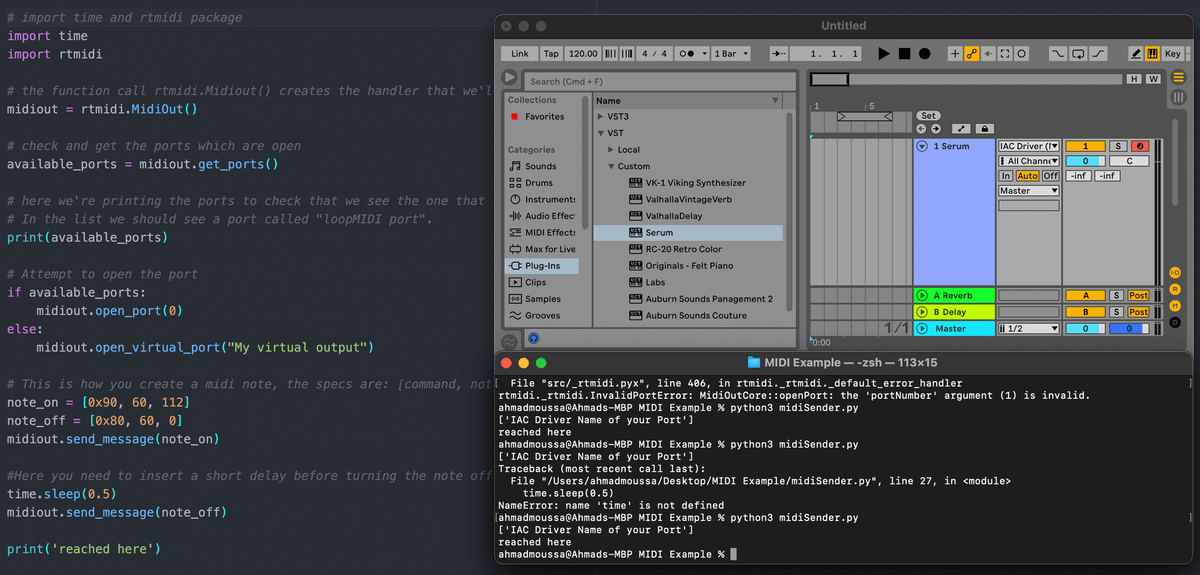
The Python Script
Create a new and empty python file somewhere in a directory on your machine. In that script we'll have to write a couple lines of code:
# import time and rtmidi package
import time
import rtmidi
The first is to simply import two packages, namely time and rtmidi. rtmidi requires the time package to function. Now that we've imported them we can create the rtmidi handler that we'll use to manipulate MIDI signals:
# the function call rtmidi.Midiout() creates the handler that we'll use to send midi signals
midiout = rtmidi.MidiOut()
Next we can check if our port exists and can be detected by rtmidi:
# check and get the ports which are open
available_ports = midiout.get_ports()

# let's print the list of ports and see if ours is among them
print(available_ports)
In the console/terminal we should now see a list of ports being printed, depending on your machine and what apps are running there might already be some entries in there. But what's important is to see if a port with the same name that we just created exists, so something along the lines of "LoopMIDI Port" or "IAC Port".
Now you'll want to remember the position of that port in the list, because we'll need it to access the port from our script:
# Attempt to open the port
if available_ports:
    midiout.open_port(0) // number here should match list index
In this condition, if the list of port has any entries we'll try to open one (the one that we just created). And now we should be ready to send MIDI information to that port!
Sending MIDI Signals
If you got this far, great! Now we need to create the midi note that we will send to the port. This is done in the following manner with rtmidi:
# This is how you create a midi note, the specs are: [command, note, velocity]
note_on = [0x90, 60, 112]
note_off = [0x80, 60, 0]
midiout.send_message(note_on)
MIDI signals are essentially a set of commands that can be created following certain specifications. More formally a MIDI command consists of a series of numbers that indicate a certain instruction that will be executed when received by a MIDI device.
rtmidi allows us to create such a command simply by creating an array consisting of three values. The first being the event type, here we wrote 0x90 indicating a 'note on' event. The second value indicates the pitch of the note. MIDI notes span from 0 to 127, where a value of 60 would indicate a middle C note. And lastly, we indicate the velocity of the note, which is essentially the intensity with which we are playing the note. Analogically, velocity can be portrayed by how hard you're pressing down on a piano key.
On the following line of code you can see another set of values, indicating the 'note off' event, which we will need to turn indicate that we are done playing the middle C note that we just sent over the port. Notice that here we indicate a velocity of 0. You can read more about this in the documentation.
After creating both 'note on' and 'note off' events we can proceed to sending the notes over to the port. This is simply done by invoking the handler and using the send_message() function, where we pass the 'note on' message. On windows, if you switch to the LoopMIDI window you'll see that the value in the 'Total Data' column for the respective port will have increased, which means that the note has been received.
In the last line we simply send the MIDI message to the port. And generally when we send a note on message we also need to follow it up with a note off message to turn it off again:
#Here you need to insert a short delay before turning the note off to make sure that the note_on signal was received
time.sleep(0.5)
midiout.send_message(note_off)

print('END OF CODE!')
And that's pretty much all there is to it!
Configuring Ableton Live
The final step is to configure Ableton such that it can receive our MIDI signals and trigger an instrument with them.
In Ableton we'll have to click a couple of buttons. First jump to your preferences and go to the Link MIDI tab.
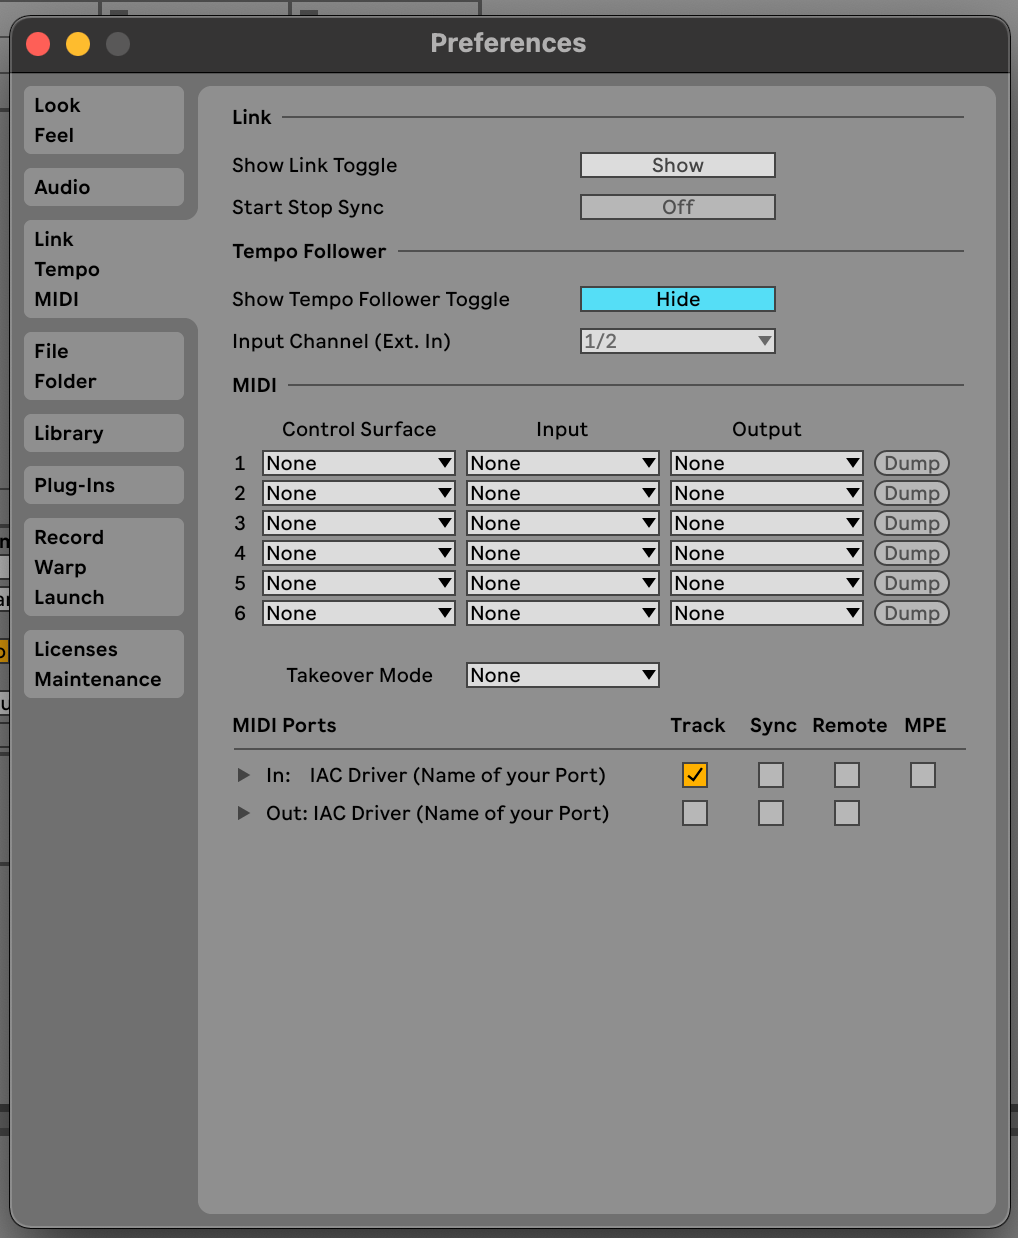
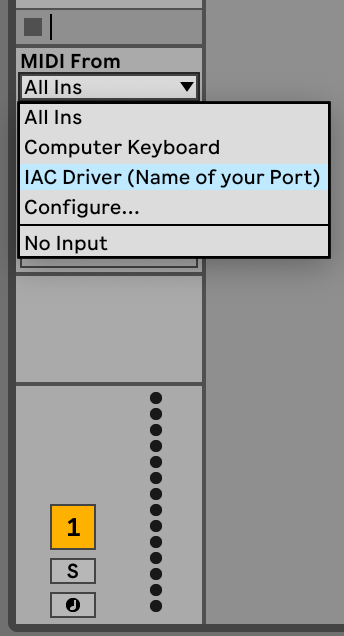
In the last section, under 'MIDI ports', you should see two entries called either 'Loop MIDI' or 'IAC Driver' (depending on your OS). There should be an in and an out entry. For the 'in' entry, toggle on the 'on' checkbox in the 'track' column.

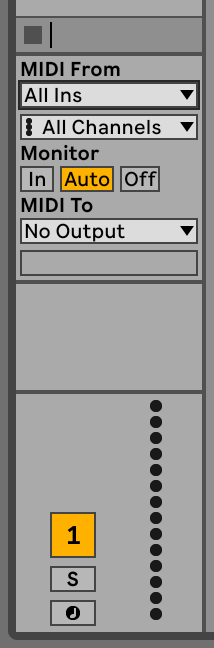
After that create a new MIDI track and make sure it has an instrument loaded. Next you'll want to arm the track, set it to auto and set the 'MIDI from' field to the 'Loop MIDI' or 'IAC Driver' port.
Now if you run the script, it should have trigerred the midi note and you should've heard a sound!
And that's about it, thanks for reading! Happy music making!