I recently migrated the Gorilla Sun blog from Github pages to Netlify. It seemed a daunting task at first, but it was much easier than I expected. I was worried that I'd be breaking something, or that my page would go offline and that it would negatively impact my SEO rankings in some manner.
My blog is not massive, far from it, but I've been worried about scalability since the beginning, what if I suddenly get a lot of traffic and Github pages suddenly doesn't cut it anymore? It would be the worst time to try and figure out how to migrate the site to a new hosting service. Better do it now, get it over with and be prepared. Better safe than sorry.
Also, this post is NOT sponsored by Netlify! (I'd be open to the idea though lol)
Here's a quick index:
- So... why Netlify?
- Taking down your github page
- Setting up Netlify
- Updating your DNS settings
- Recap of required steps
So... why Netlify?
Mainly because of scalability concerns. Github pages only offers one tier, which is free but imposes a number of limitations:
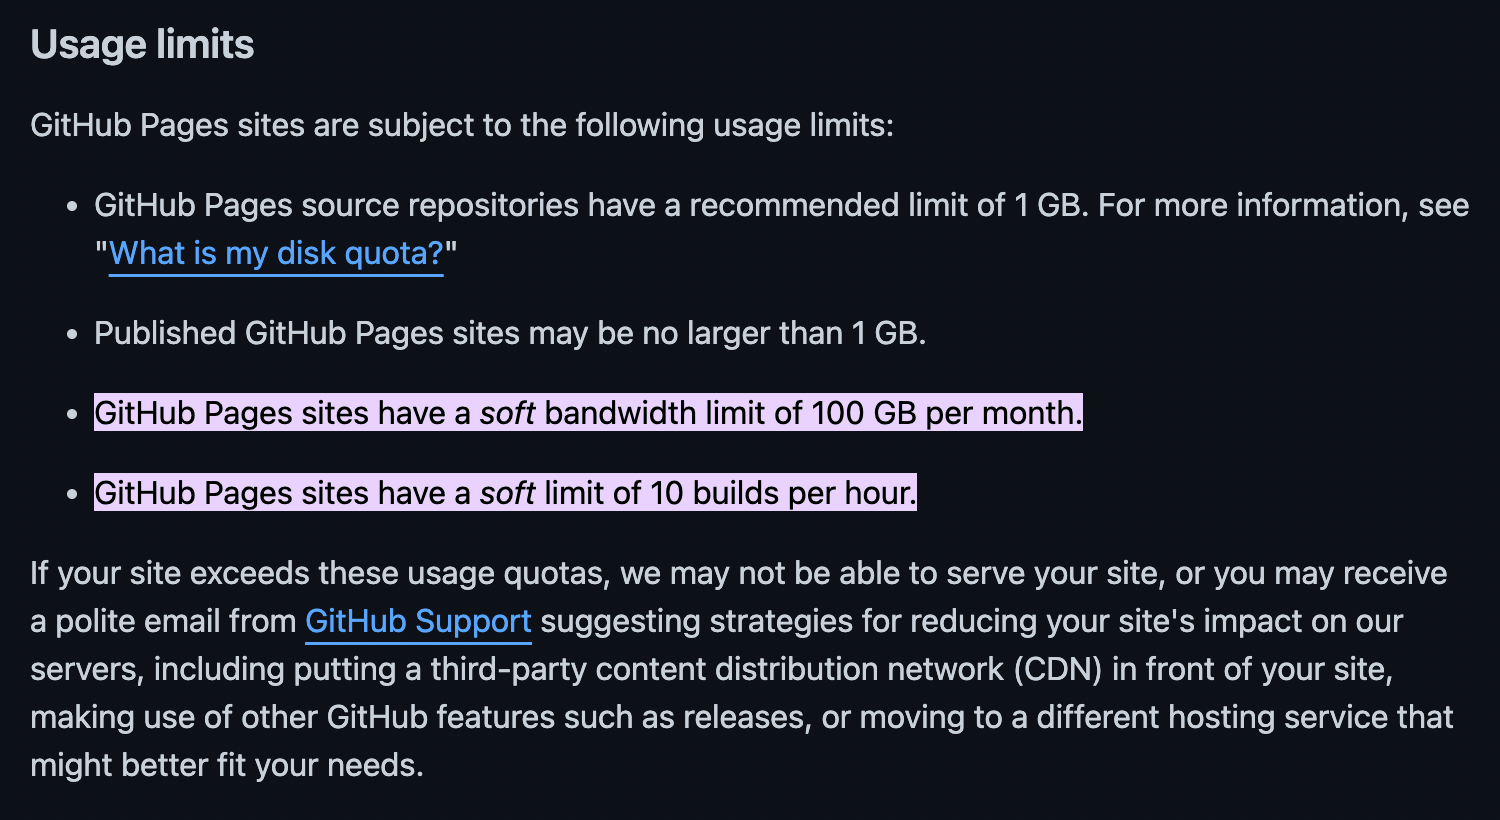
Where the second point on the list is a bit of a problem, since you can't really know how close you are to the 100GB bandwidth limit. The other two limits are fine, if you're optimizing everything on your site then you should be far from 1GB anyway, and 10 builds are also more than enough. In Netlify you also get a bandwidth limit of 100GB per month, and 300 build minutes, which is also more than enough:
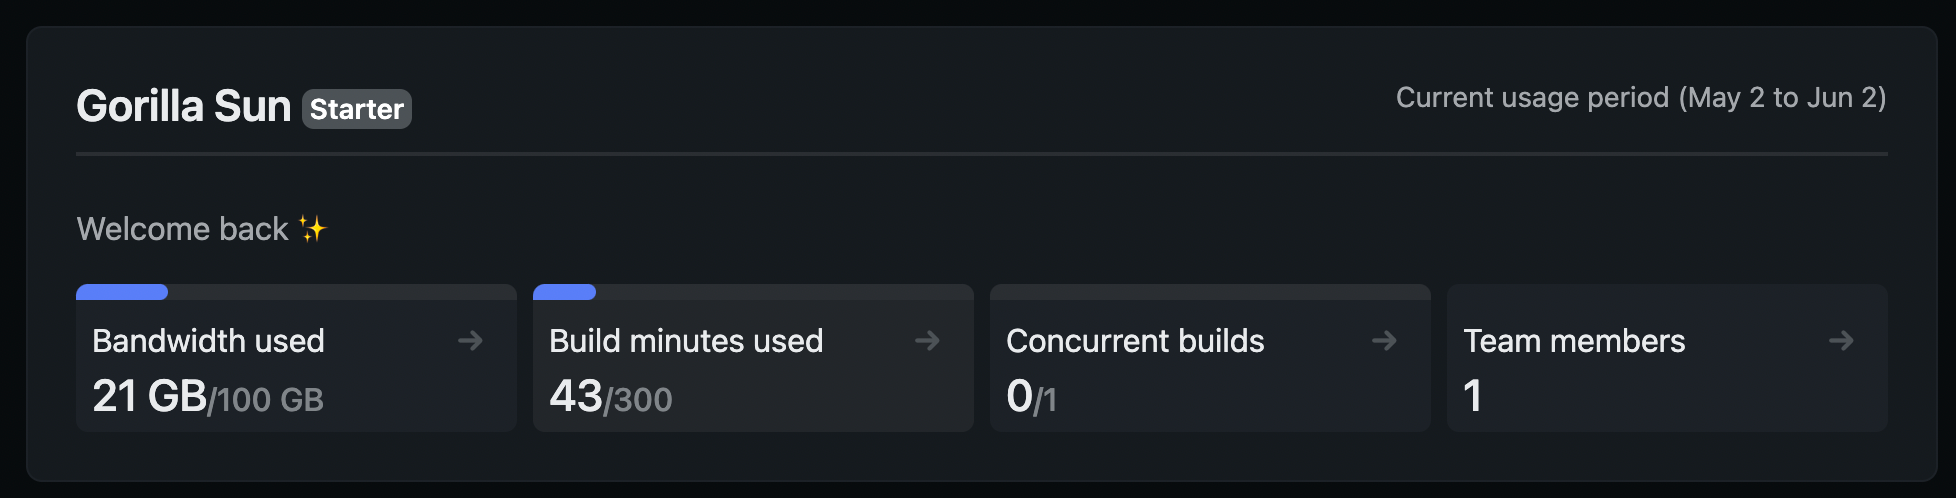
What is also great is that you can see how close you are to meeting those limits. That said, Github pages is still a great option if you're just getting started, and I would definitely recommend it. In many ways it trivializes setting up your very first site. You just upload your files in a repo and you're good to go! But it's nice to have the options which Netlify provides.
Taking down your github page
The next sections explain how to migrate your blog from Github pages to Netlify. If your site isn't tied to a custom domain name, it's incredibly straightforward. If you have your website tied to a custom domain there are a few extra steps.
First things first, you'll probably want to take down your github page. This can be simply done by going into the repository settings of your page, then navigating to the 'pages' tab and setting the source branch to 'None' instead of the deployment branch.

DON'T delete this repository however, we'll need it for Netlify!
Setting up Netlify
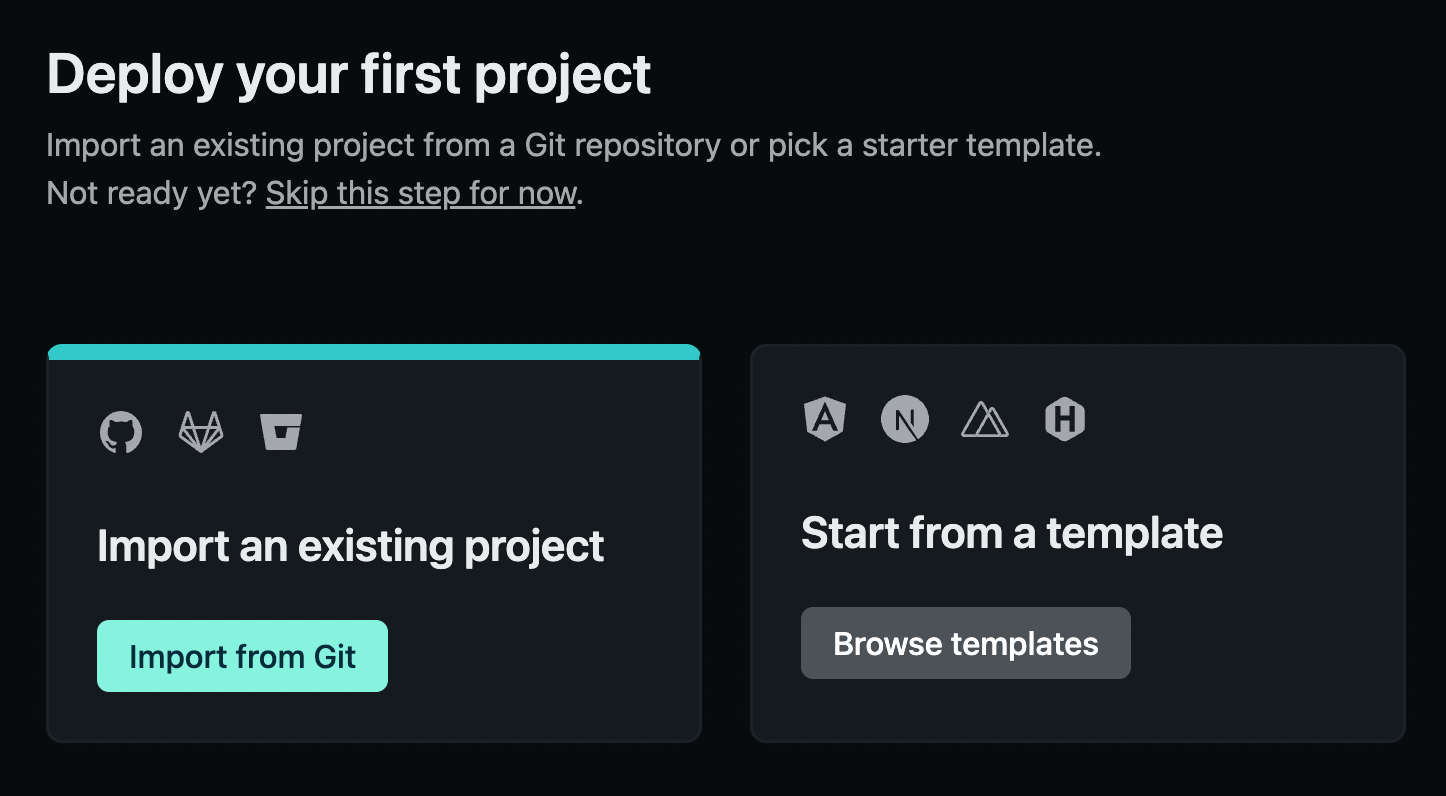
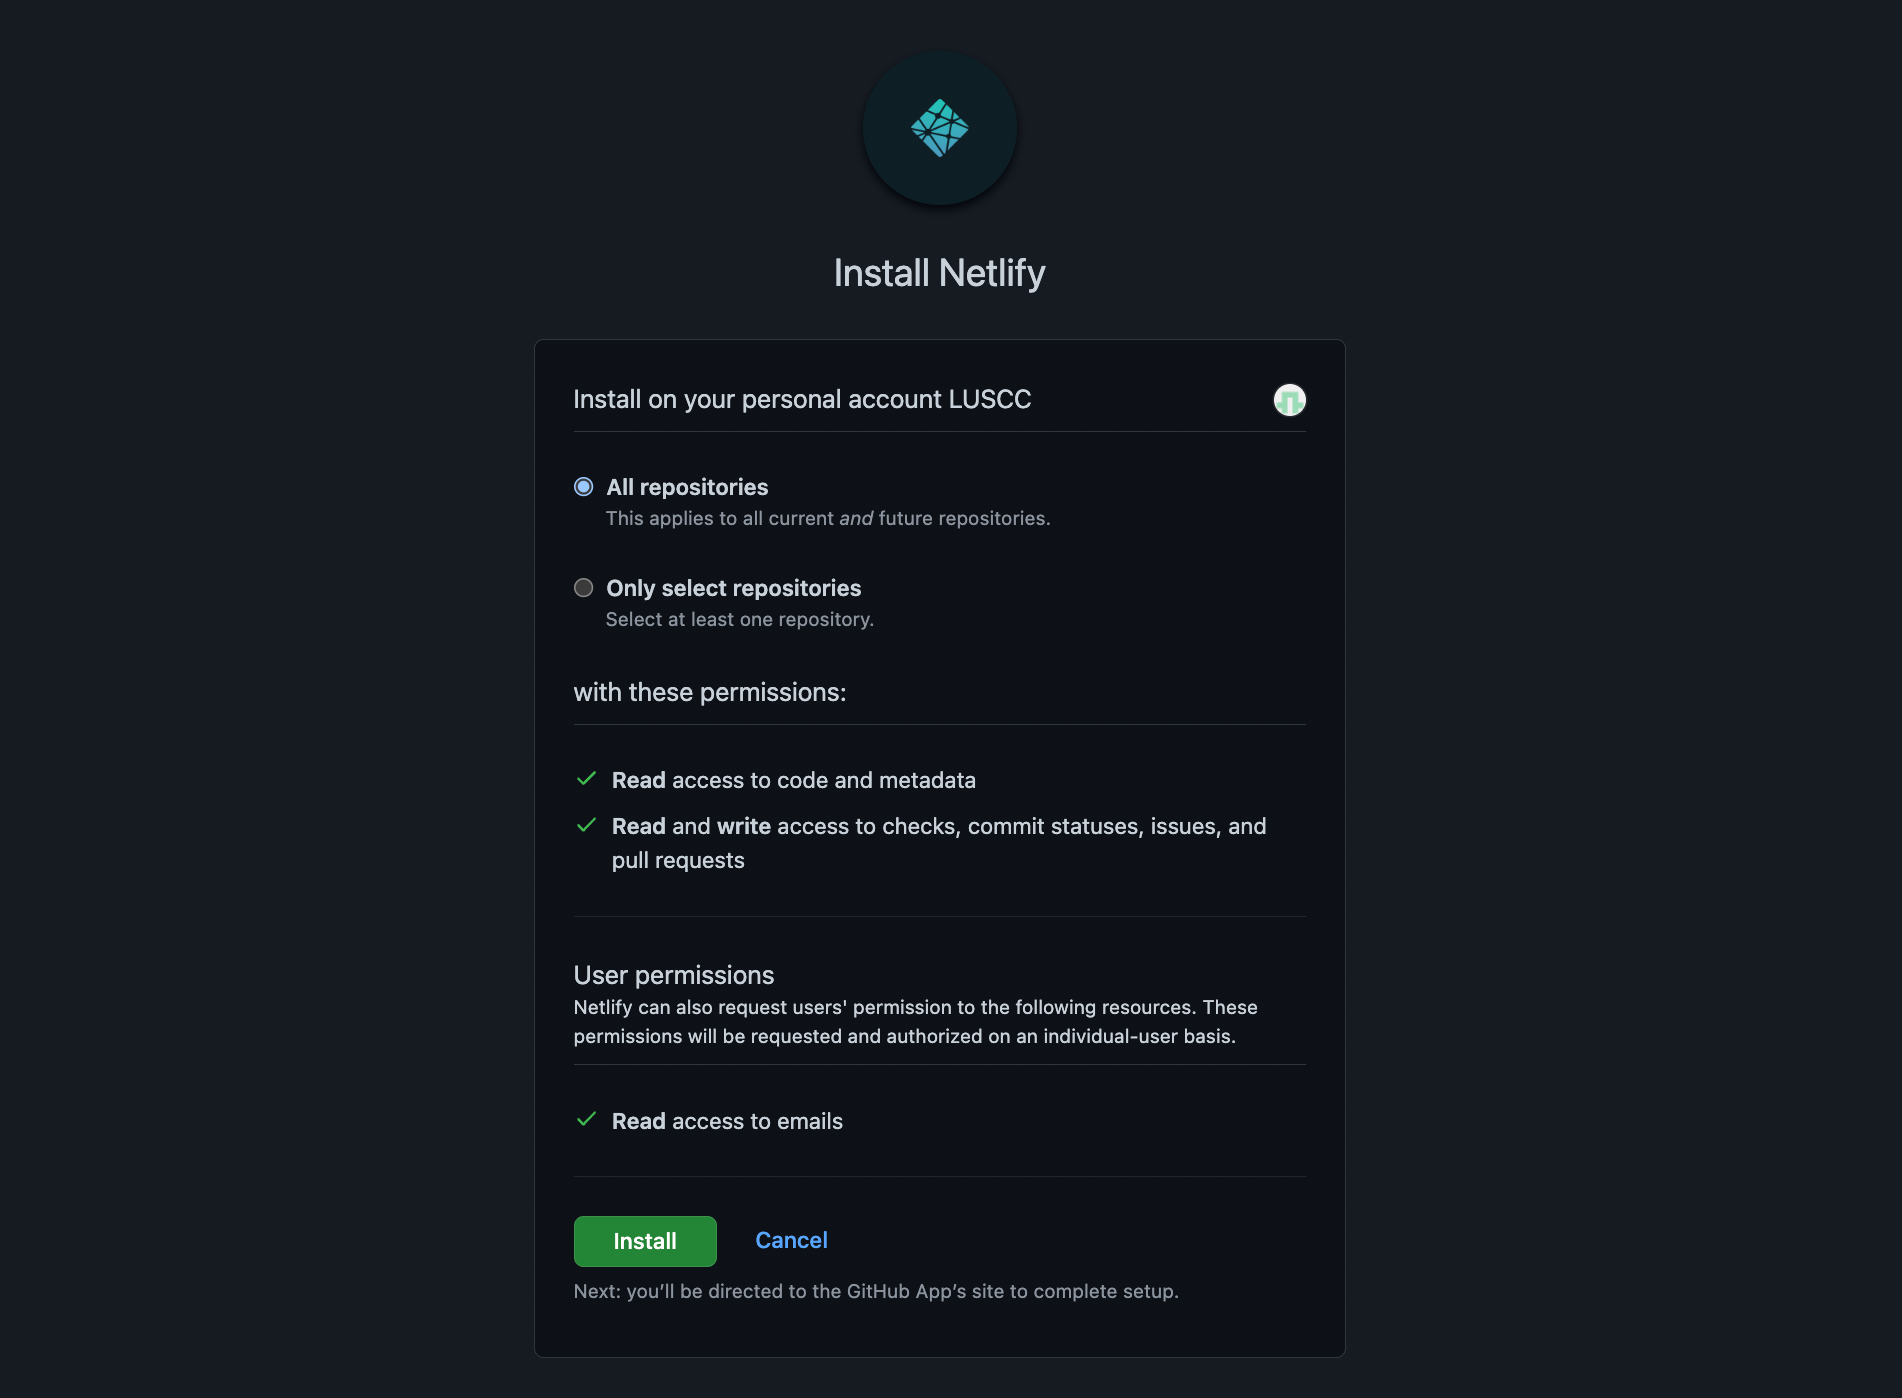
Once you sign up to Netlify you'll be asked to deploy your first project. Luckily since our site already exists as a repository on github, we can simply point Netlify to build it from there!
We'll authorize Netlify to have access to our github, this will allow Netlify to draw the files and data on your website directly from github. In the future if you want to effectuate any change you just have to update this github repo and netlify will automatically update your page.
Next we select the repository that contains our page files. Depending on the type of site the 'build command' entry might differ, but Netlify should in most cases be able to pick it up automatically. In this case I am using a simple static site as an example, hence no build commands are required. If we had a Jekyll blog for example, this build command would need to be 'bundle exec jekyll serve' for example:

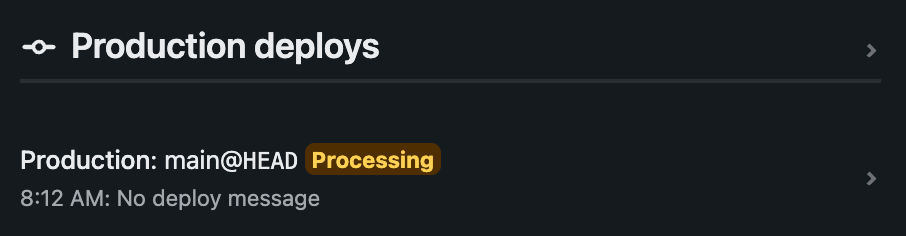
After you've done this final step you simply need to wait a couple of moments until the site is live.
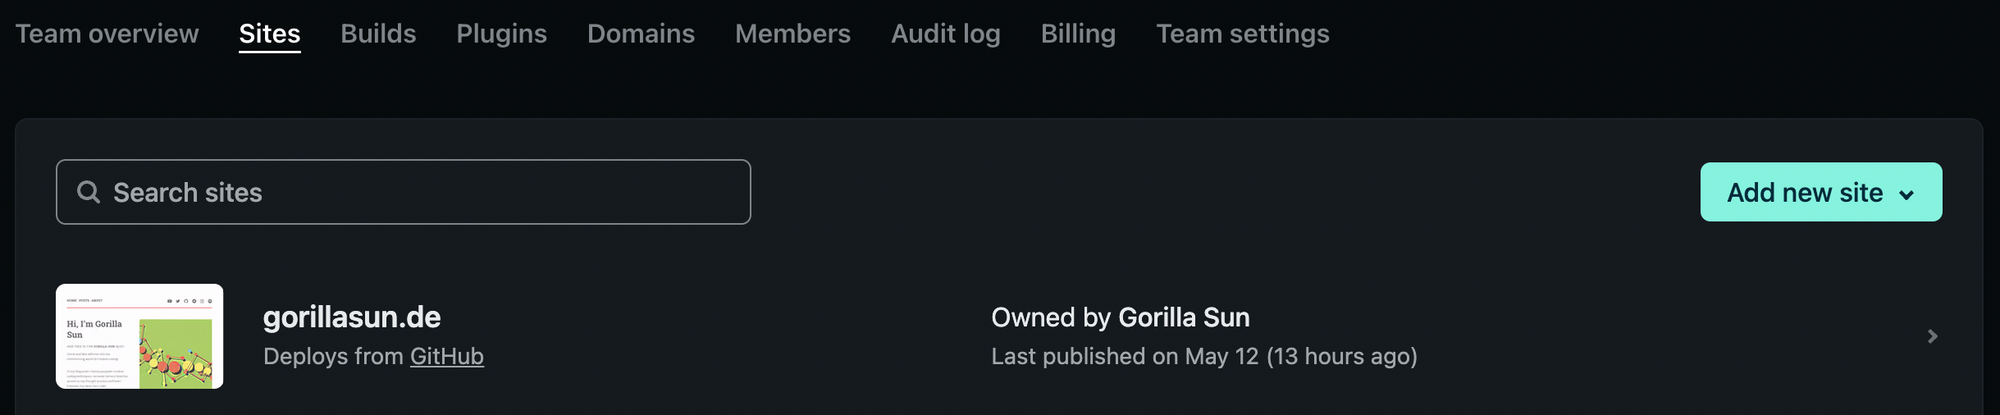
Your site should now show up now under the 'sites' tab on Netlify:
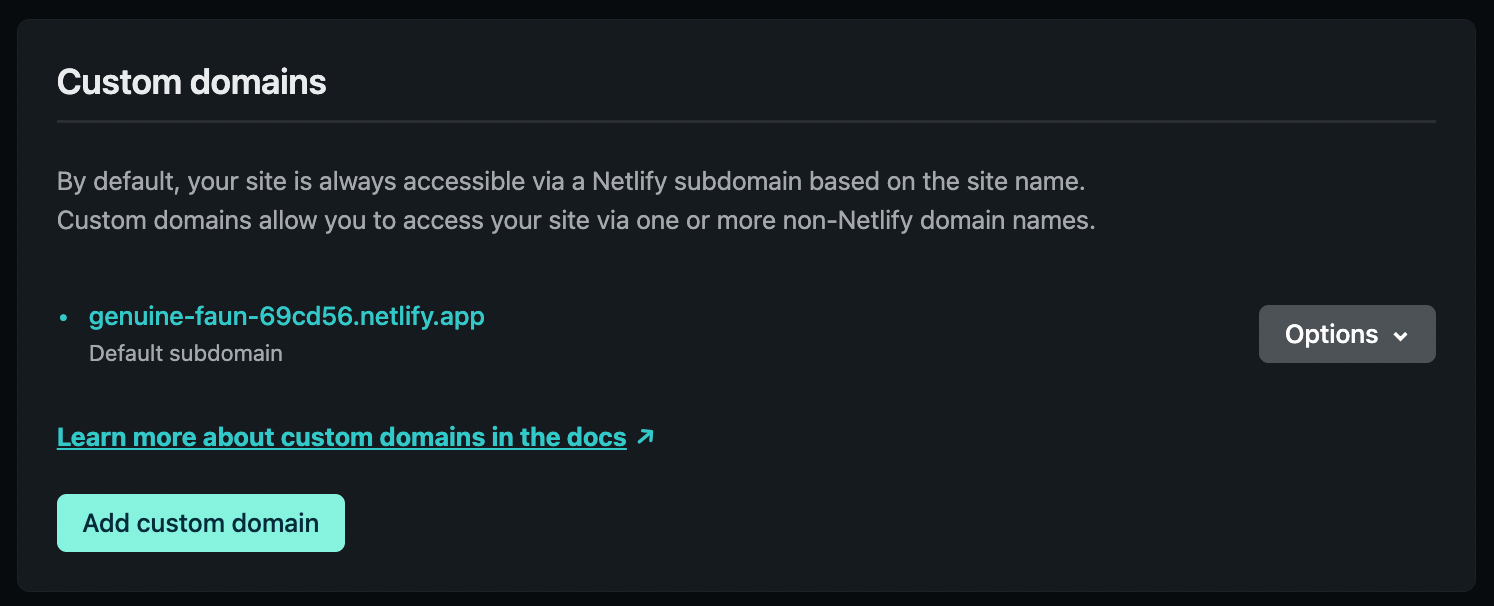
Now your site should be up and ready, let's go and grab the link to it from the 'domain management' tab in your site settings:

If you don't have a custom domain yet, you should only see one entry. This will be the link to your page, right now on your end it probably has a weird numerical string as url. You should edit this one to something more readable, basically to the name of your page:
Then if everything is in order, your site should be accessible under this link. Go and check it out! If you still want to link a custom domain to your page, then read on.

Pointing a custom domain to Netlify
Now we can add our custom domain to Netlify.
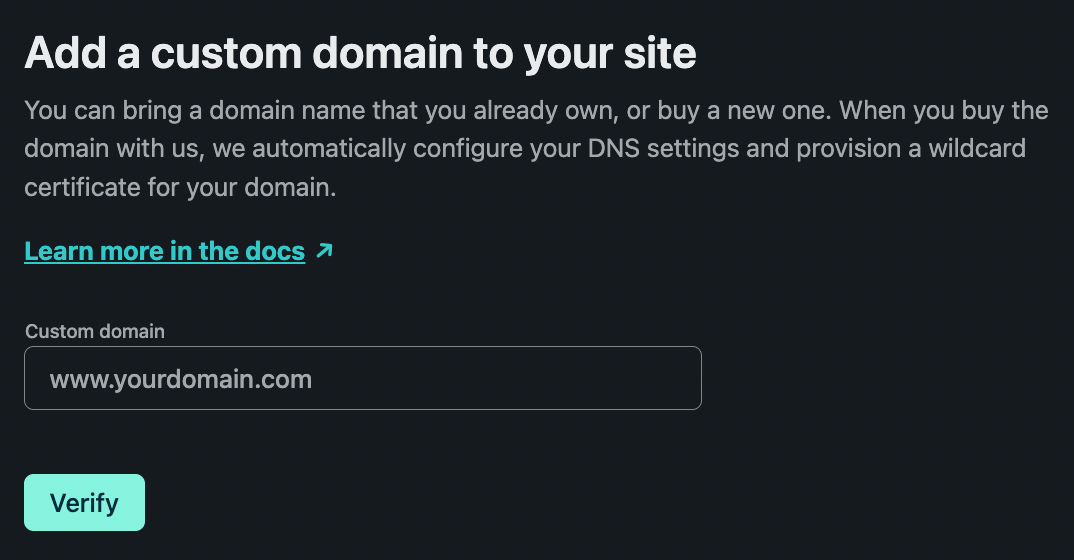
You'll probably get a message like this one after you enter your domain:
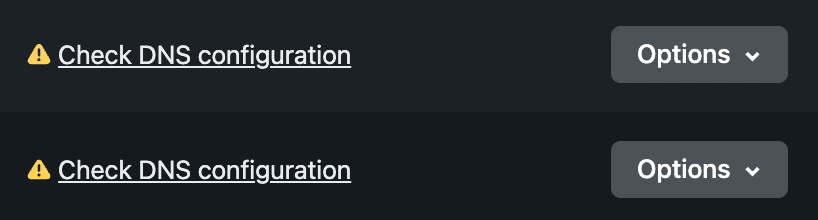
And after clicking verify you'll get two new entries in your domain list, that have a warning message next to them. This simply means that you need to go and update your DNS information in your web registrar. Your web registrar is likely where you purchased your custom domain name. For me this is godaddy, where the DNS settings were still pointing towards github rather than netlify. So we will have to hop over there and change these entries.
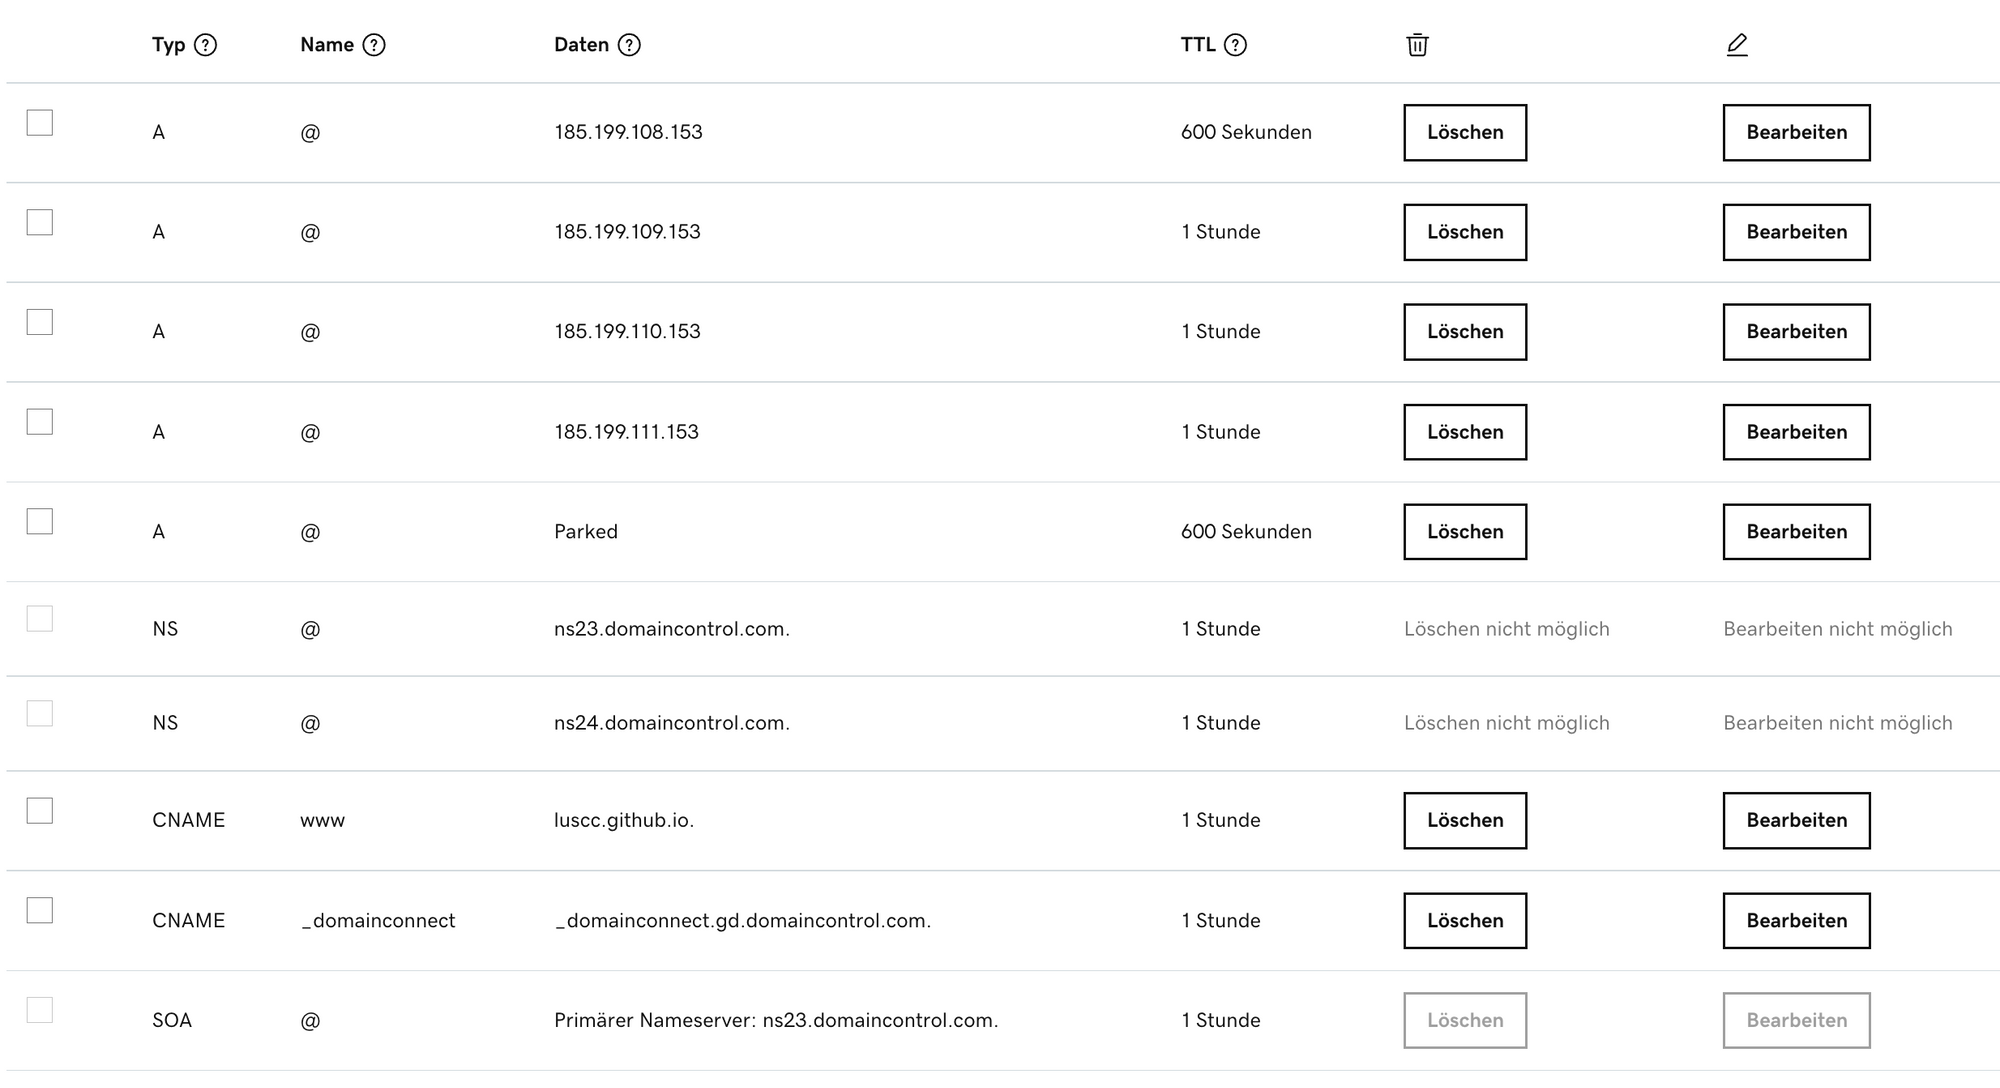
If you've had your web registrar set up for github pages, the DNS settings will look something like this, where the CNAME entry is pointing to the github pages url of the repository, and 4 A tags pointing towards github's IP addresses:
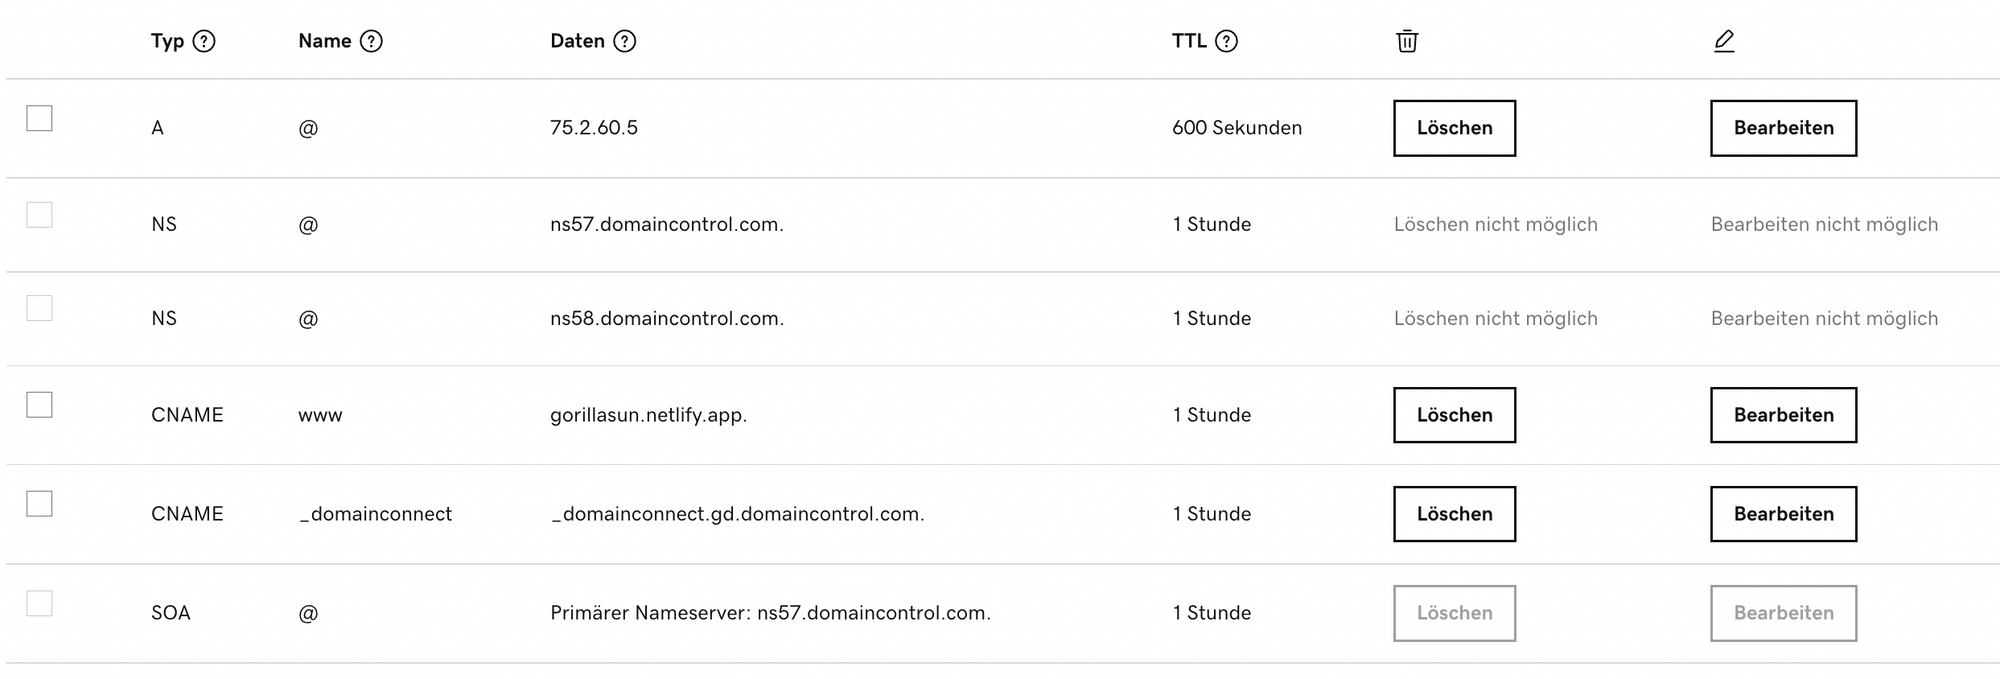
The settings for Netlify will look something like this, where the CNAME tag points to the default subdomain url generated by netlify for the specific site that you want to point the custom domain to. Make sure to update this entry if you edit this subdomain url:
And that's basically it. Netlify's docs talk much more extensively about this here, if you need more info.
Doing the migration as detailed in this post, will lead to some unavoidable downtime. This is because these DNS records need to propagate across the net, and that can take some time. Up to 48 hours in some instances, in my case however it only took around an hour (a full hour of panicking and double-checking my DNS settings lol).
There are however some ways to drastically reduce this downtime, as detailed in this comprehensive post on the Netlify support forum.
Recap of required steps
And to end, here's a recap of the essential steps required to effectuate the switch from Github pages to Netlify:
- Set your Github Pages source branch to 'None', don't delete the repo!
- Create a Netlify account and link it with your Github
- Create a new site, and point it to the github repo as source
- Edit the generated subdomain link into something humanly readable
- Go to your web registrar and update the DNS settings: A: 75.2.60.5 / CNAME: yoursitename.netlify.app
And that's it for this short 'how-to'. Nothing monumental, but it was pretty exciting to switch over to netlify! Thanks for reading, if you enjoyed it check out some of my other posts!